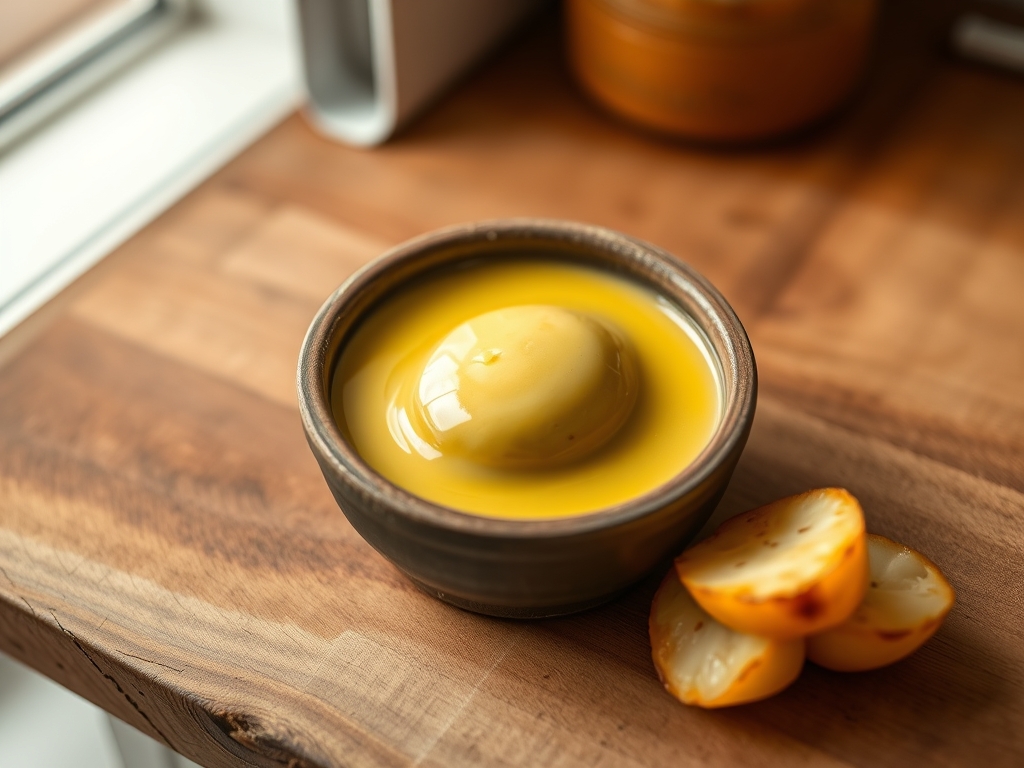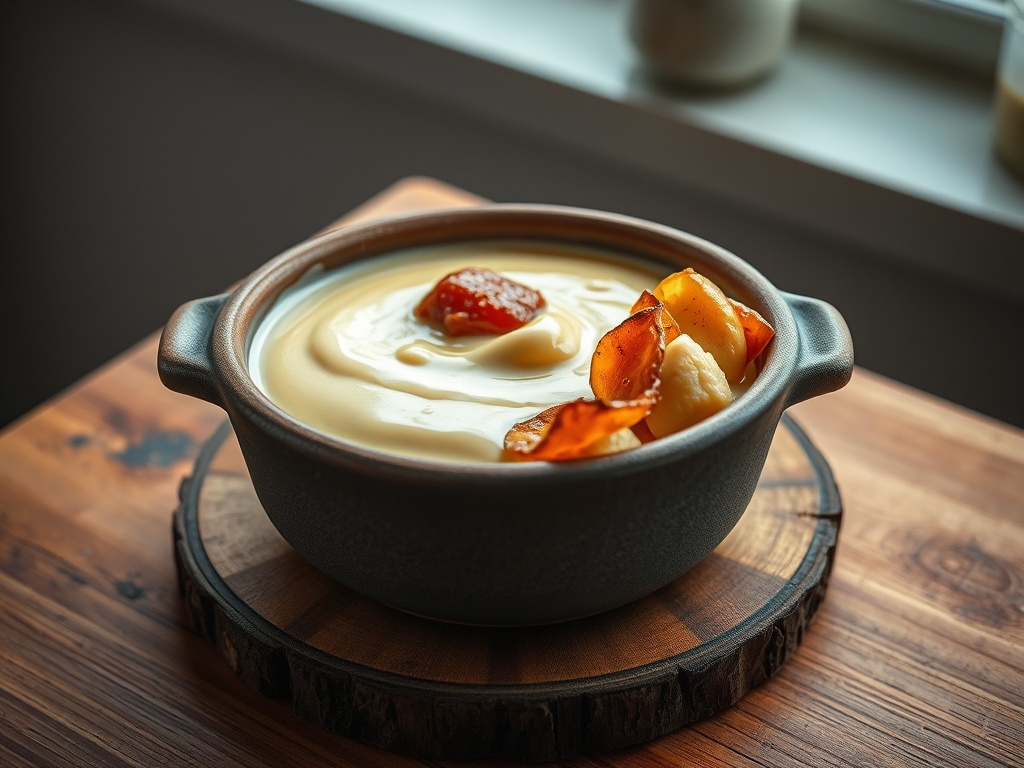
The steam rising from a roasting pan is not just a fragrant byproduct of Sunday dinner; it is a chaotic atmospheric event waiting for a conductor. Most home cooks approach the bottom of the pan with a sense of trepidation, fearing the dreaded "grease slick" or the "flour pebble." We are here to eliminate those amateur variables through the rigorous application of Gravy Emulsification. This is the holy grail of the flour fat matrix. It is the moment where scorched proteins, rendered lipids, and aqueous stock are forced into a permanent, velvety alliance. To achieve this, you must understand that you are not just stirring; you are managing a high-stakes molecular suspension. We are looking for a glossy, opaque, and deeply viscous liquid that coats the back of a spoon with the authority of a velvet curtain. If your current output is translucent or separates into oily tiers, your infrastructure has failed. It is time to audit your process, calibrate your heat, and master the mechanical shear required for a perfect emulsion.
THE DATA MATRIX
| Metric | Specification |
|---|---|
| Prep Time | 10 Minutes |
| Execution Time | 15 Minutes |
| Yield | 500ml / 2 Cups |
| Complexity (1-10) | 6 |
| Estimated Cost per Serving | $0.45 |
THE GATHERS
Ingredient Protocol:
- Rendered Pan Drippings: 60ml / 1/4 cup (Fat and browned bits)
- All-Purpose Flour: 30g / 1/4 cup (The structural starch)
- High-Quality Beef or Chicken Stock: 475ml / 2 cups (The aqueous phase)
- Unsalted Butter: 15g / 1 tbsp (The finishing gloss)
- Worcestershire Sauce: 5ml / 1 tsp (The piquant acid)
- Kosher Salt: To taste (The mineral enhancer)
- Black Peppercorns: 2g / 1/2 tsp (Freshly cracked)
Section A: Ingredient Quality Audit:
If your stock is "store-bought grey," it lacks the gelatin content necessary for a stable matrix. You can fix this by fortifying the liquid with a teaspoon of unflavored gelatin before heating. If your pan drippings are burnt rather than browned, do not proceed. Carbonized proteins will impart a bitter, acrid profile that no amount of seasoning can mask. In this case, discard the solids, deglaze the pan with water to salvage what you can, and supplement with a high-quality bouillon base to rebuild the flavor profile from scratch.
THE MASTERCLASS
Step-by-Step Execution:
1. The Lipid Separation and Roux Initiation
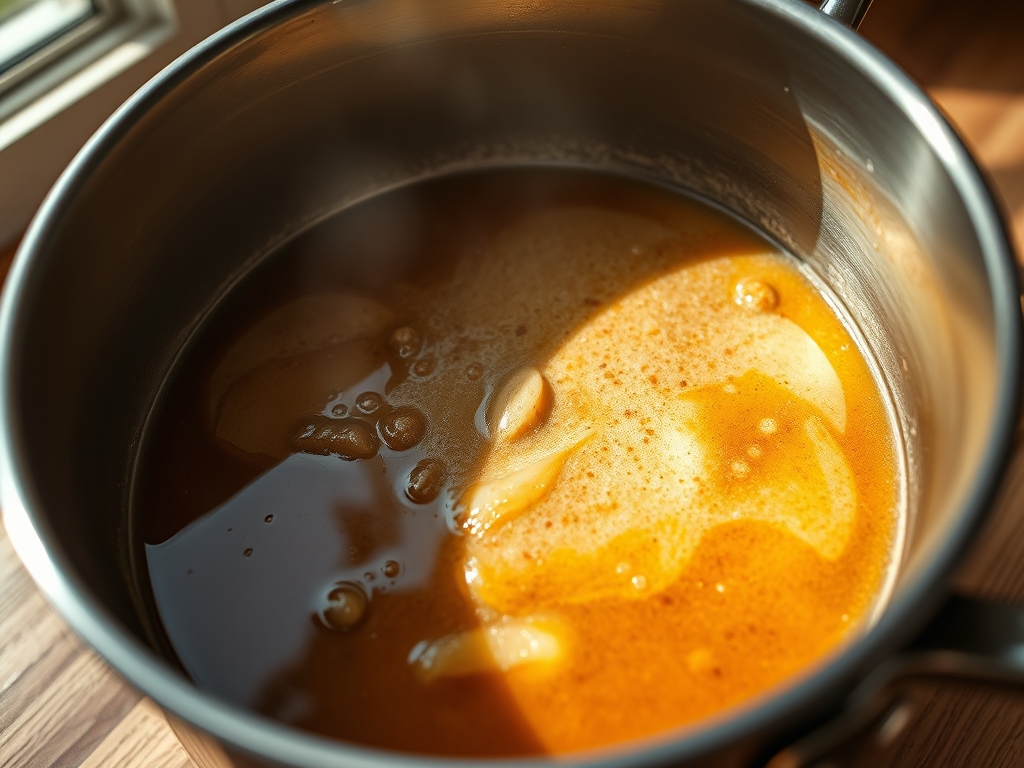
Set your roasting pan over two burners or transfer drippings to a heavy-bottomed saucier. Whisk in the flour to create a paste. You are looking for a "blonde" or "peanut butter" stage roux. This cooks out the raw starch flavor while ensuring the flour particles are fully coated in fat.
Pro Tip: Use a digital scale to measure your flour. Volumetric measurements are notoriously inaccurate; a "cup" of flour can vary by 20 percent based on how tightly it is packed. Precision prevents a pasty, over-thickened disaster.
2. The Deglaze and Mechanical Shear
Slowly introduce 100ml of your stock while whisking vigorously. This is the critical phase of Gravy Emulsification. You are creating a concentrated slurry. The mechanical action of the whisk breaks the fat into microscopic droplets that the starch then encapsulates.
Pro Tip: A flat whisk or a silicone-coated coil whisk is the superior tool here. It allows you to reach the corners of the pan where the most flavorful fond (browned bits) resides.
3. The Aqueous Expansion
Gradually stream in the remaining stock while maintaining a constant simmer. The heat causes the starch granules to swell and burst, a process known as starch gelatinization. This provides the viscosity required for a stable pour.
Pro Tip: If you notice small lumps forming, do not panic. Use a fine-mesh chinois to strain the gravy into a clean pot. This ensures a professional, silk-like texture that passes any visual audit.
4. The Gloss and Seasoning Calibration
Once the desired thickness is achieved, whisk in the cold butter and Worcestershire sauce. The cold butter creates a secondary emulsion that adds a reflective sheen to the surface. Season with salt and pepper only at the very end to account for the salt reduction in the stock.
Pro Tip: Use a bench scraper to clean your workspace and keep your station organized. A clean environment prevents cross-contamination of flavors and keeps your focus on the thermal management of the pan.
Section B: Prep & Timing Fault-Lines:
The most common failure in gravy production is rushing the roux. If the flour is not cooked for at least two minutes, the resulting gravy will taste like wet cardboard. Conversely, if the stock is added too quickly (the "dump method"), the fat will separate and float to the top. Temperature control is also vital; adding ice-cold stock to a scorching pan can cause the proteins to seize. Always use room-temperature or warm stock to maintain a steady thermal climb.
THE VISUAL SPECTRUM
Section C: Thermal & Visual Troubleshooting:
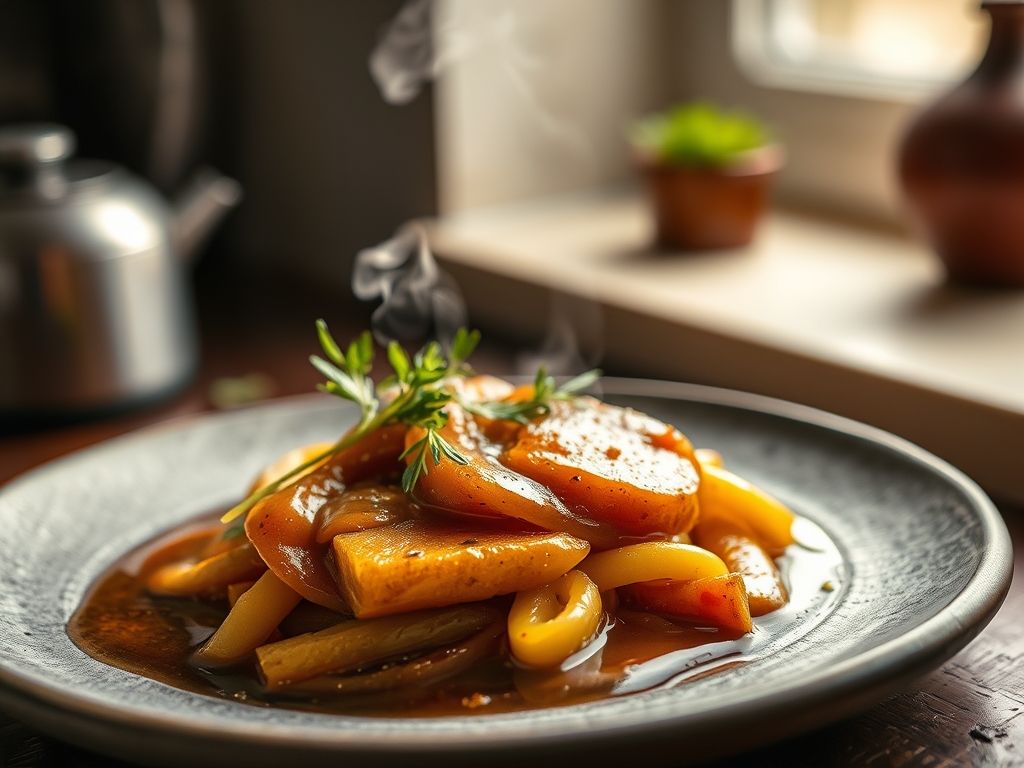
Referencing the Masterclass photo, your gravy should exhibit a deep, amber luminosity. If your result is dull or matte, you likely lacked enough fat in the initial roux or skipped the cold butter finish. If the color is too pale, you did not allow the fond to develop enough Maillard browning during the roast. You can "cheat" the color by adding a drop of browning sauce or a teaspoon of tomato paste during the roux stage. If the texture looks "broken" or curdled, the emulsion has collapsed. You can often rescue this by adding a splash of heavy cream and using an immersion blender to re-aerate and force the fats back into suspension.
THE DEEP DIVE
- Macro Nutrition Profile: Per 100ml serving, expect approximately 80 calories, 6g fat, 5g carbohydrates, and 1g protein. The majority of the caloric load comes from the rendered animal fats and the starch-based thickener.
- Dietary Swaps: For a Vegan alternative, substitute beef fat with avocado oil and use a rich mushroom dashi as the stock base. For Gluten-Free requirements, swap all-purpose flour for sweet rice flour or a cornstarch slurry (note: a slurry must be added at the end, not used to make a roux). For Keto adherence, omit flour entirely and thicken via reduction and xanthan gum (use only 1/4 tsp at a time).
- Meal Prep & Reheating Science: Gravy is a starch-based gel. When cooled, it undergoes retrogradation, becoming firm or jelly-like. To reheat, add a tablespoon of water or stock and heat slowly while whisking. Avoid the microwave if possible; the uneven heating can break the delicate emulsion you worked so hard to build.
THE KITCHEN TABLE
Why is my gravy lumpy?
Lumps occur when dry flour hits hot liquid and the exterior hydrates instantly, trapping dry starch inside. Always whisk flour into fat first to coat the particles, or use a cold-water slurry for post-boil thickening.
Can I fix a gravy that is too salty?
You cannot "remove" salt. You can only dilute it by adding more stock and a bit more thickener. Some suggest a raw potato, but that is a myth. Dilution is the only scientific solution.
How do I get a darker color?
The color comes from the "fond" or the roux. Cook your flour and fat longer until it reaches a chocolate hue. This provides a deeper flavor and a richer visual profile without adding artificial colors.
Why does my gravy skin over?
This is caused by evaporation at the surface. To prevent this during service, place a piece of plastic wrap or a thin layer of melted butter directly on the surface of the liquid to block air contact.