Forget the flaccid, store-bought cylinders that taste like sweetened chalk and industrial dust. We are entering the realm of the sugar-gelatin matrix; a high-stakes engineering project where air is your primary building block and temperature is your absolute master. Achieving the perfect Marshmallow Aeration is not a casual baking endeavor. It is a calculated structural intervention. You are essentially building a microscopic cathedral of protein-bound bubbles, trapped within a supercooled liquid that refuses to crystallize. When you bite into a master-crafted marshmallow, you should experience a momentary resistance followed by a complete molecular collapse. It is a cloud that has been disciplined by chemistry. We are looking for a bounce-back factor that would make a trampoline jealous and a melt-rate that mimics fresh snow on a hot engine block. This is about the violent transformation of granulated sucrose into a shimmering, viscous foam. If you are ready to audit your kitchen infrastructure and push your stand mixer to its mechanical limit, then let us begin the structural assembly.
THE DATA MATRIX
| Metric | Specification |
|---|---|
| Prep Time | 25 minutes |
| Execution Time | 45 minutes (plus 8 hours curing) |
| Yield | 64 cubes (1-inch) |
| Complexity (1-10) | 7 |
| Estimated Cost per Serving | $0.12 |
THE GATHERS
Ingredient Protocol:
- Bloom Phase: 28g / 4 envelopes Unflavored Gelatin.
- Hydration Phase: 120ml / 0.5 cup Ice Cold Water.
- Syrup Phase: 400g / 2 cups Granulated Sugar.
- Viscosity Control: 160ml / 0.66 cup Light Corn Syrup.
- Solvent: 120ml / 0.5 cup Room Temperature Water.
- Flavor Profile: 15ml / 1 tbsp Pure Vanilla Extract.
- Structural Salt: 2g / 0.25 tsp Kosher Salt.
- The Coating: 60g / 0.5 cup Confectioners Sugar mixed with 60g / 0.5 cup Cornstarch.
Section A: Ingredient Quality Audit:
If your gelatin smells like a wet basement, your bloom is compromised. Always use high-bloom strength powders to ensure the structural integrity of the Marshmallow Aeration. If your corn syrup has crystallized in the bottle, do not attempt to salvage it for this recipe; the impurities will trigger a chain reaction of crystallization in your syrup. For those using beet sugar instead of cane sugar, be aware that the foaming capacity may vary slightly due to different mineral contents. If your vanilla extract contains high levels of corn syrup or artificial dyes, it can weigh down the foam. Use a high-quality, alcohol-based extract to ensure it integrates into the matrix without breaking the delicate protein bonds.
THE MASTERCLASS
1. The Gelatin Bloom Protocol
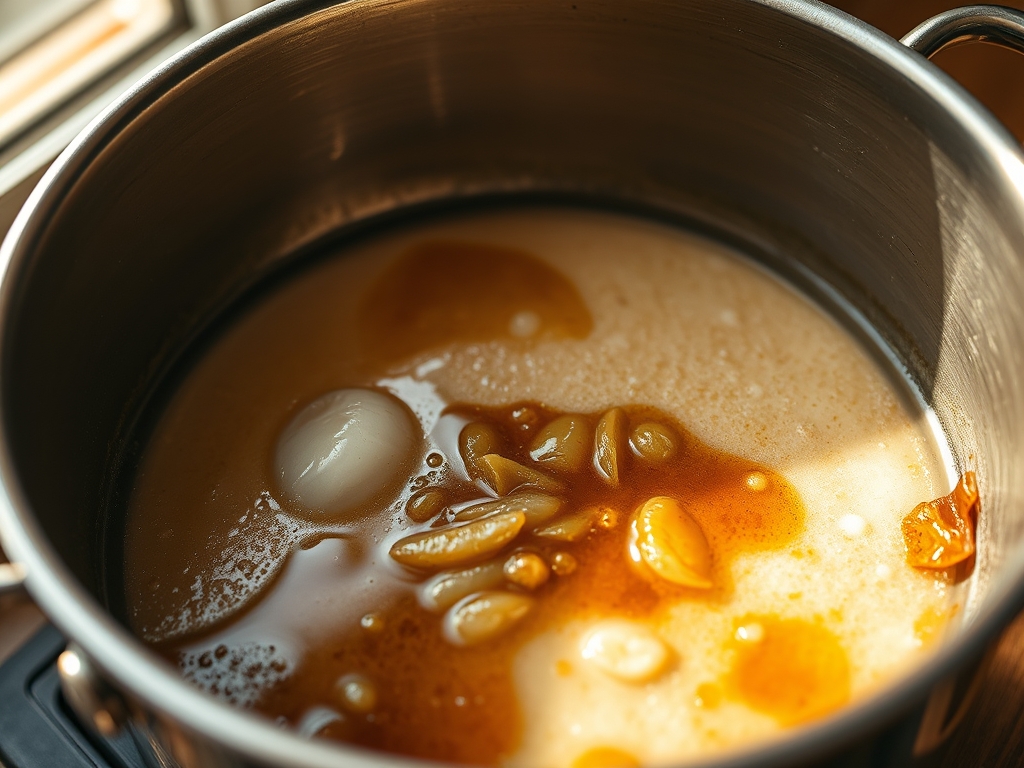
In the bowl of your heavy-duty stand mixer, combine the cold water and the gelatin. Use a whisk to ensure no dry clumps remain. This is the hydration phase where the protein coils begin to unwind.
Pro Tip: Use a digital scale for the gelatin. Even a 2-gram variance can turn your marshmallow from a cloud into a rubber ball. The science here is "hydration kinetics"; the water must be cold to prevent the exterior of the granules from gelling too quickly and trapping dry powder inside.
2. The Thermal Ascent
In a heavy-bottomed saucier, combine the granulated sugar, corn syrup, salt, and the second portion of water. Place over medium-high heat. Cover the pot for the first 3 minutes to allow the steam to wash down any stray sugar crystals from the sides.
Pro Tip: Avoid stirring once the sugar has dissolved. Stirring introduces mechanical energy that can encourage unwanted crystallization. Use a digital candy thermometer to track the temperature with surgical precision.
3. Reaching the Hard Ball Threshold
Continue boiling the syrup until it reaches exactly 240 degrees Fahrenheit (115 degrees Celsius). This is the "soft ball" to "firm ball" transition where the water content is reduced to approximately 15 percent.
Pro Tip: Have a bowl of ice water nearby to calibrate your thermometer. If you overshoot the temperature, the marshmallow will be too tough; if you undershoot, it will fail to set and remain a viscous puddle.
4. The High-Velocity Infusion
Turn your stand mixer to low speed. Slowly stream the hot syrup down the side of the bowl into the bloomed gelatin. Once fully incorporated, increase the speed to high.
Pro Tip: Use the whisk attachment to maximize Marshmallow Aeration. The goal is to whip as much atmospheric air as possible into the mixture while the gelatin is still in its liquid state. This is where the volume triples.
5. The Whipping Marathon
Whip the mixture for 10 to 12 minutes until the bowl feels lukewarm to the touch and the mixture is thick, white, and glossy. Add the vanilla extract during the final minute of whipping.
Pro Tip: Watch for the "ribbon stage." When you lift the whisk, the batter should fall back into the bowl in a thick, defined ribbon that holds its shape for several seconds. This indicates the protein matrix is strong enough to support the air bubbles.
6. The Casting Process
Dust a 9×9 inch baking pan generously with the sugar-starch mixture. Use a bench scraper or an offset spatula to spread the marshmallow into the pan. Dust the top with more coating.
Pro Tip: Work quickly. As the temperature drops, the gelatin sets. If you wait too long, you will be fighting a sticky, semi-solid mass that refuses to level out. Let it cure at room temperature for at least 8 hours.
Section B: Prep & Timing Fault-Lines:
The most common failure in Marshmallow Aeration is the "thermal gap." If you pour the syrup too quickly, you risk heat-denaturing the gelatin proteins, which destroys their ability to hold air. If you pour too slowly, the syrup cools and sticks to the side of the bowl before it can be incorporated. Your timing must be fluid. Another fault-line is the humidity of the room. On a rainy day, the sugar will pull moisture from the air, resulting in a sticky, weeping marshmallow. In high-humidity environments, increase your final syrup temperature by 2 degrees to compensate for the atmospheric moisture.
THE VISUAL SPECTRUM
Section C: Thermal & Visual Troubleshooting:
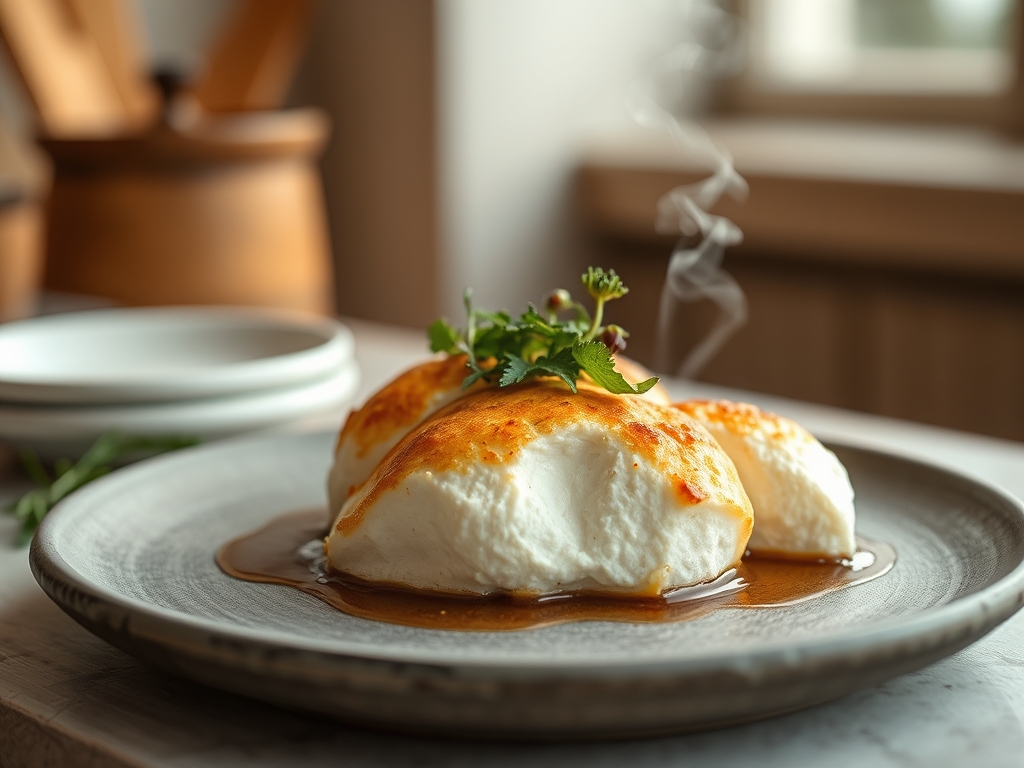
Look at the Masterclass photo; notice the sharp, clean edges and the matte, velvet-like finish of the coating. If your marshmallows look translucent or "wet," they have under-aerated or the sugar did not reach the proper temperature. If the texture is grainy, you have suffered a crystallization event; next time, ensure the pot lid is used to steam the sides of the pan. Dull, yellowed colors indicate that the sugar was scorched during the boiling phase or your vanilla extract was low quality. A perfect marshmallow should be stark white and opaque, indicating a high density of microscopic air bubbles that scatter light uniformly.
THE DEEP DIVE
Macro Nutrition Profile:
Per serving (one cube), you are looking at approximately 40 calories, 10g of carbohydrates, and 0g of fat. While it is a pure carbohydrate play, the gelatin provides a negligible 0.5g of protein. It is a high-glycemic fuel source designed for immediate energy or sensory indulgence.
Dietary Swaps:
- Vegan: Replace gelatin with agar-agar (note: the texture will be more brittle and less "bouncy"). Use an aquafaba base for the foam.
- Keto: This is a challenge. You can use Allulose as it carmelizes and behaves similarly to sugar, but avoid Erythritol as it crystallizes too aggressively. Use bovine collagen peptides combined with xanthan gum for structure.
- GF: Naturally gluten-free, but ensure your confectioners sugar does not use a wheat-based anti-caking agent.
Meal Prep & Reheating Science:
Marshmallows do not "reheat" in the traditional sense; they melt. To maintain molecular structure for long-term storage, keep them in an airtight container with a desiccant pack. If they become too firm, a 3-second (literally 3 seconds) pulse in the microwave can soften the gelatin matrix without collapsing the air bubbles. For the ultimate structural test, render the exterior over an open flame to create a Maillard-driven crust while the interior remains a molten foam.
THE KITCHEN TABLE
Why are my marshmallows shrinking after I cut them?
This is elastic recoil. Your gelatin matrix is too strong or you did not let them cure long enough. Ensure a full 8-hour rest to allow the sugar to stabilize and the moisture to equalize across the block.
Can I use honey instead of corn syrup?
Yes; however, honey is more acidic and contains enzymes that can weaken gelatin. Boil the honey-sugar mixture to 242 degrees to ensure a firmer set and a more stable Marshmallow Aeration.
Why did my mixture never get fluffy?
Check your whisk. Any trace of fat or grease on the bowl or attachment will act as an anti-foaming agent. Scrub your equipment with lemon juice or vinegar before starting to ensure a pristine, fat-free environment.
How do I get perfectly clean squares?
Do not use a standard knife. Use a bench scraper or a pizza wheel heavily coated in the starch-sugar mix. A vertical "press and release" motion is superior to a sawing motion, which tears the delicate protein walls.