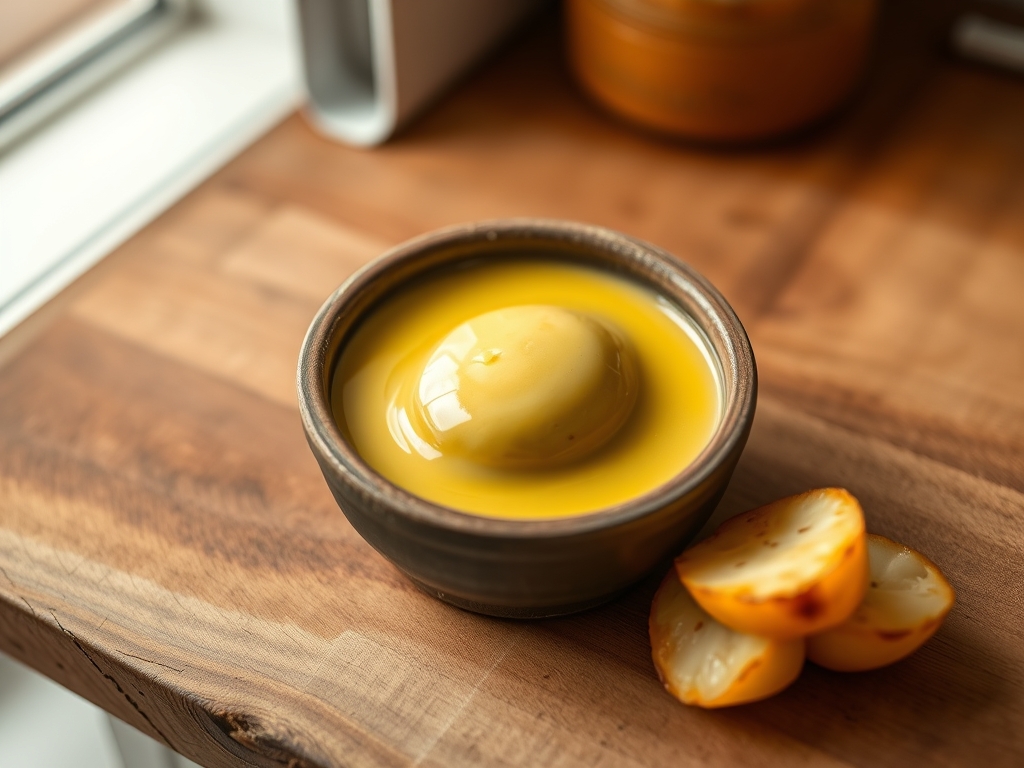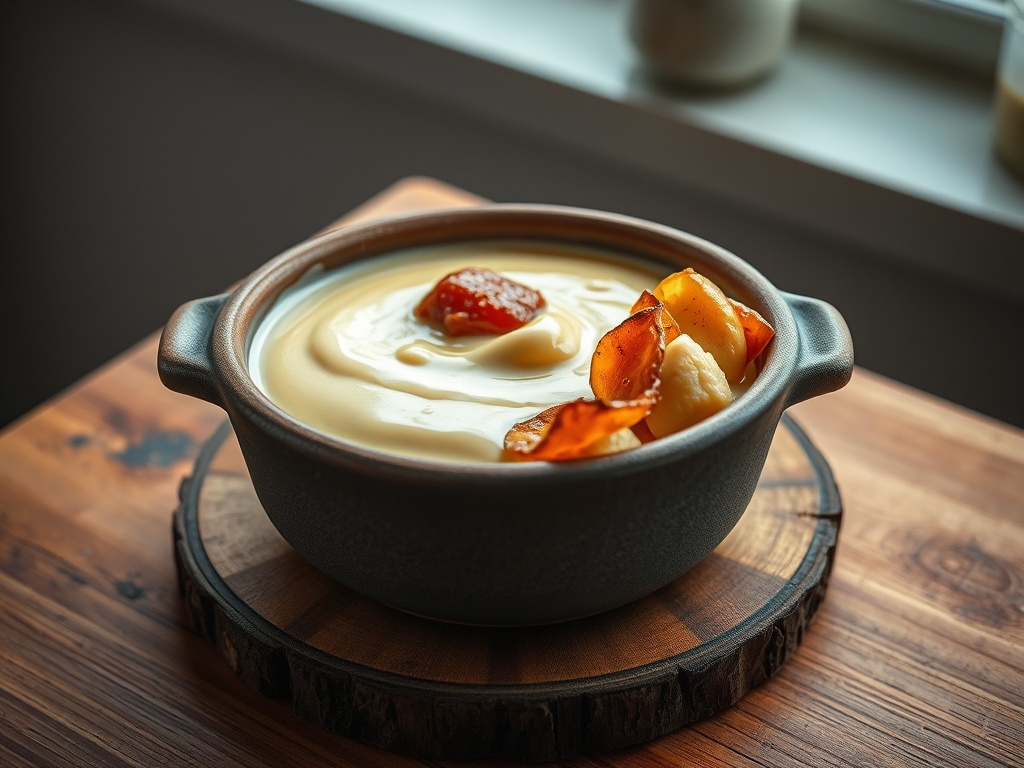
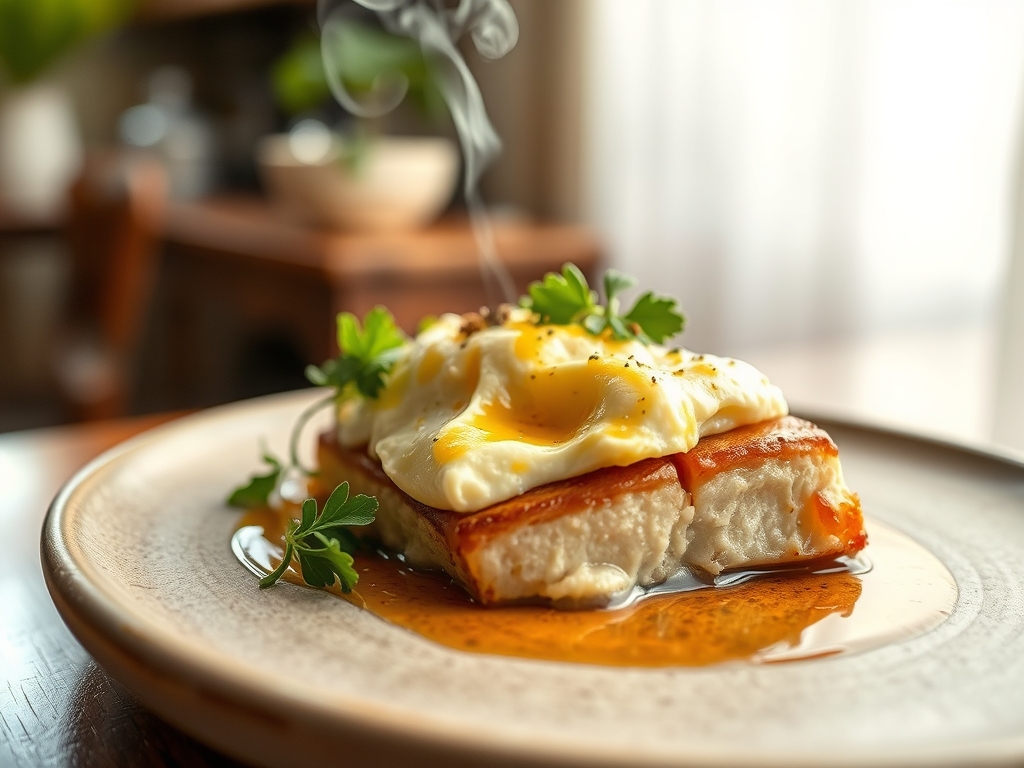
Stop treating bone marrow like a side dish and start treating it like the structural engineering marvel it is. We are moving past the era of scraping gelatinous, oily deposits from a calcified tube. We are entering the realm of the lipid cloud. Whipped Bone Marrow is not just a spread; it is a high-velocity emulsion that captures the primal, umami-heavy essence of bovine fat and suspends it within a matrix of atmospheric air. When executed with precision, the result is a substance that defies the laws of density. It hits the palate with the force of a dry-aged ribeye but vanishes with the ethereal lightness of a meringue. This is culinary alchemy where we take the most viscous, heavy fats in the kitchen and force them to fly. If you are looking for a subtle garnish, turn back now. This is a technical audit of flavor intensity, designed for those who want to weaponize the Maillard reaction and deploy it via a chilled, aerated delivery system that shatters expectations.
THE DATA MATRIX
| Metric | Specification |
|---|---|
| Prep Time | 45 Minutes |
| Execution Time | 20 Minutes |
| Yield | 500ml / 2 Cups |
| Complexity (1-10) | 7 |
| Estimated Cost per Serving | $3.50 |
THE GATHERS
Ingredient Protocol:
- 500g / 1.1 lbs Center-cut beef canoe bones (soaked in brine)
- 115g / 0.5 cup High-quality unsalted grass-fed butter (cubed, chilled)
- 5g / 1 tsp Maldon sea salt (plus extra for finishing)
- 2g / 0.5 tsp Freshly cracked black peppercorns
- 15ml / 1 tbsp Shallot (minced to a fine paste)
- 5ml / 1 tsp Lemon juice (to brighten the lipid profile)
- 2g / 1 tbsp Fresh parsley (micro-planed or finely chiffonade)
Section A: Ingredient Quality Audit:
The primary failure point in Whipped Bone Marrow is the sourcing of the marrow itself. If your bones arrive with a grey or brownish tint, the fat has already begun to oxidize; this results in a rancid, metallic aftertaste that no amount of aeration can fix. To rectify sub-par raw materials, perform a 48-hour cold-water brine soak, changing the water every 6 hours. This leaches out residual blood and impurities, whitening the marrow and ensuring a clean flavor profile. Furthermore, do not settle for standard commercial butter. Because this is a fat-on-fat emulsion, the butter acts as the stabilizing agent. Use a butter with at least 82 percent butterfat. If your marrow feels too liquid after roasting, your bones were likely from a younger animal with higher water content. Fix this by reducing the rendered liquid in a saucier over low heat for three minutes before chilling.
THE MASTERCLASS
1. The High-Heat Render
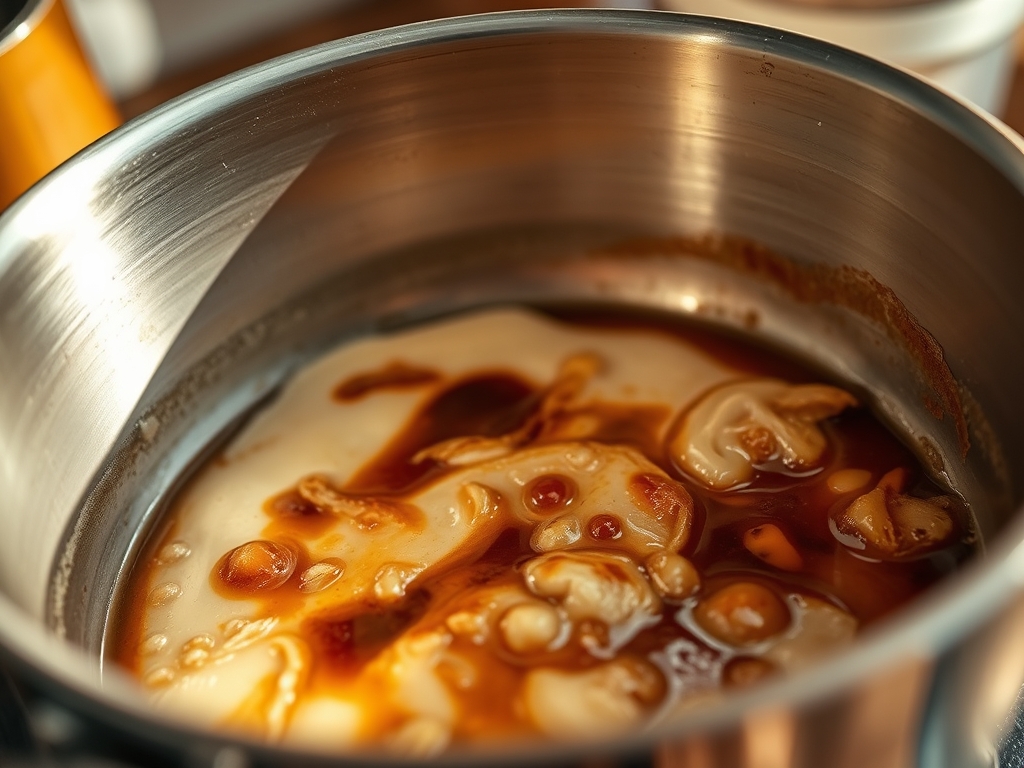
Preheat your oven to 230C / 450F. Place the brined, dried bones on a heavy-gauge sheet pan. Roast until the marrow is bubbling and has achieved a deep, golden-brown hue. This is where we render the fat and initiate the Maillard reaction.
Pro Tip: Use a digital scale to weigh the bones before and after roasting. You want to see a weight loss of approximately 20 percent, which indicates the water has evaporated and the fats have concentrated.
2. The Extraction and Filtration
While the bones are piping hot, use a small offset spatula or a bench scraper to extract the marrow into a fine-mesh sieve set over a stainless steel bowl. Press the solids to ensure every drop of liquid gold is captured.
Pro Tip: Do not skip the filtration. Microscopic bone fragments will act as "seeds" for crystallization, ruining the silky texture of your final foam. A saucier can be used here to keep the fat warm if you are working in a cold kitchen.
3. The Thermal Descent
Place the bowl of liquid marrow over an ice bath. Whisk constantly until the fat begins to turn opaque and reaches a viscous, pomade-like consistency. It must be cool to the touch but not solid.
Pro Tip: Temperature control is the "make or break" variable. If the fat gets too cold, it will clump; if it stays too warm, it will not hold air. Aim for 18C / 65F.
4. The Aeration Phase
Add the chilled, cubed butter to the marrow. Using a high-speed stand mixer or a hand-held immersion blender, begin to aerate the mixture. Start slow to incorporate, then move to high speed until the volume doubles and the color shifts to a pale ivory.
Pro Tip: This is a mechanical emulsion. The friction of the blades can heat the fat, so keep your mixing bowl nested in a larger bowl of ice to maintain structural integrity.
5. The Piquant Infusion
Fold in the minced shallots, lemon juice, salt, and pepper. Use a rubber spatula to ensure even distribution without collapsing the air bubbles you have fought so hard to create.
Pro Tip: The acidity of the lemon juice is not just for flavor; it acts as a surfactant that helps stabilize the fat globules, preventing the palate from feeling "coated" or greasy.
Section B: Prep & Timing Fault-Lines:
The most common human error is the "Rush to Whip." If you attempt to whip the marrow while it is still warm from the oven, the protein structures will not be able to trap air, resulting in a broken, oily soup. Conversely, if you leave the marrow in the fridge too long and it becomes a solid block, you will have to re-melt it and start the cooling process over. There is no "middle ground" here. You must hit the viscous window. If your emulsion breaks (looks grainy), add a single teaspoon of ice-cold water and whisk violently; the moisture will help re-link the fat chains.
THE VISUAL SPECTRUM
Section C: Thermal & Visual Troubleshooting:
Referencing the Masterclass photo, your Whipped Bone Marrow should exhibit a "soft peak" architecture. If your result looks dull or flat, you have likely under-whipped or the marrow-to-butter ratio was skewed toward the marrow. The photo shows a distinct ivory sheen; this is a sign of successful aeration. If your product looks yellow or oily, the fat has melted during the whipping process. To fix a "dull" appearance, infuse a small amount of room-temperature bone marrow back into the mix and re-whip. If you see dark flecks that aren't pepper, you likely scorched the marrow during the roasting phase. Always look for that "cloud-like" texture where the edges of the spread appear feathered rather than sharp.
THE DEEP DIVE
Macro Nutrition Profile:
This is a high-density lipid fuel source. A standard 30g serving contains approximately 240 calories, 26g of fat, 1g of protein, and 0g of carbohydrates. It is exceptionally high in Vitamin K2 and conjugated linoleic acid (CLA).
Dietary Swaps:
- Vegan: This is a structural challenge. Substitute marrow with a blend of refined coconut oil and roasted porcini mushroom paste to mimic the umami. Use a high-fat vegan butter for the aeration agent.
- Keto/GF: Naturally compliant. Serve with flaxseed crackers or sliced radishes instead of sourdough.
Meal Prep & Reheating Science:
Whipped Bone Marrow is stable in the refrigerator for up to 5 days. However, the molecular structure will firm up significantly. To serve, do not microwave. Allow it to sit at room temperature for 30 minutes, then give it a quick "refresh" whisk to re-introduce lost air. Freezing is not recommended as ice crystals will puncture the fat cells, leading to "weeping" upon thaw.
THE KITCHEN TABLE
Can I use marrow from other animals?
Yes, but beef is the gold standard for structural stability. Lamb marrow is more viscous and has a gamey funk that can be polarizing. Veal marrow is milder but contains more water, requiring a longer reduction time.
Why did my marrow turn green?
This is usually a reaction between the sulfur in the shallots and the iron in the marrow. To prevent this, ensure your shallots are rinsed in cold water and patted dry before they are incorporated into the fat.
What is the best vessel for serving?
Use a chilled ceramic crock. Glass or metal will transfer heat too quickly, causing the edges of your whipped foam to melt into a puddle before the guest can enjoy the aerated texture.
Can I make this without a stand mixer?
You can use a balloon whisk and significant manual labor. However, achieving the necessary "lipid loft" is difficult by hand. An immersion blender with a whisk attachment is the professional's preferred tool for small batches.