Listen to the sound of a steam wand piercing the surface of cold dairy; it is not a hiss, but a controlled mechanical scream. This is the sound of structural transformation. We are not just heating liquid; we are engaging in a high-stakes engineering project where the blueprint is defined by Foamed Milk Logic. To the uninitiated, it looks like a simple latte. To the culinary auditor, it is a delicate suspension of atmospheric air within a matrix of hydrolyzed proteins and emulsified lipids. If your foam looks like soapy dishwater or a stiff, dry meringue, you have failed the audit. True barista-grade microfoam requires a viscous texture that pours like wet paint and reflects light with a mirror-like sheen. This is the intersection of thermodynamics and fluid dynamics. We are hunting for that perfect "wet" consistency where the bubbles are too small to be seen by the naked eye. This requires precision, speed, and a ruthless commitment to temperature control. Let us dismantle the process and rebuild your technique from the molecular level up.
THE DATA MATRIX
| Metric | Specification |
|---|---|
| Prep Time | 2 Minutes |
| Execution Time | 45 Seconds |
| Yield | 1 Serving (approx. 300ml) |
| Complexity (1-10) | 8 |
| Estimated Cost per Serving | $0.85 |
THE GATHERS
Ingredient Protocol:
- 250ml / 1.05 cups Whole Milk (Minimum 3.5% fat content).
- 18g / 2 tbsp Double-Shot Espresso (Freshly extracted).
- Optional: 5ml / 1 tsp Vanilla Infusion (For flavor profiling).
Section A: Ingredient Quality Audit:
Sub-par raw materials are the primary cause of foam collapse. If your milk is past its peak freshness, the free fatty acids will destabilize the protein bonds, leading to "thin" foam that dissipates in seconds. Technical Fix: Always use milk straight from the refrigerator at 4 degrees Celsius. Cold liquid provides a longer "runway" for aeration before reaching the denaturation temperature. If using plant-based alternatives, ensure they are "Barista Edition" variants. These are fortified with dipotassium phosphate, an acidity regulator that prevents the milk from curdling when it hits the piquant, acidic environment of the espresso.
THE MASTERCLASS
Step-by-Step Execution:
1. The Cold Purge and Calibration
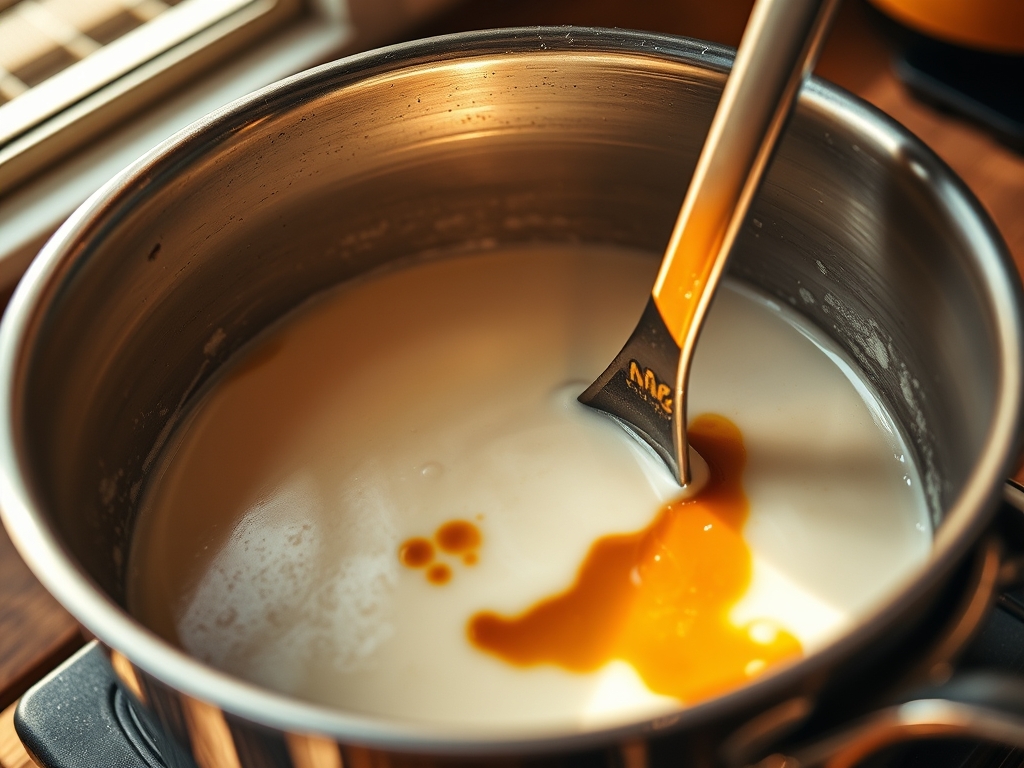
Before the pitcher even touches the wand, you must purge the steam line into a cloth for two seconds. This removes condensed water that would otherwise dilute your lipids and ruin the viscous mouthfeel. Use a digital scale to measure exactly 250ml of milk into a stainless steel pitcher.
Pro Tip: Water is the enemy of texture. If you do not purge, you introduce "dead steam" which adds volume without adding structure, resulting in a watery, unstable emulsion.
2. The Aeration Phase (The Stretch)
Submerge the tip of the steam wand just below the surface. Open the steam valve fully. You should hear a "chirping" sound as you aerate the liquid. This phase must be completed before the milk reaches 37 degrees Celsius (body temperature).
Pro Tip: This is where you build the "skeleton" of your foam. Use a digital thermometer to monitor the climb. Once the milk feels warm to the touch, the window for adding air is closed.
3. The Vortex Phase (The Roll)
Bury the wand tip deeper and tilt the pitcher to create a violent whirlpool or vortex. This step does not add more air; instead, it shears the large bubbles into microscopic ones. You are essentially using the steam's kinetic energy to render the bubbles invisible.
Pro Tip: Professional baristas use the "saucier" logic here; the goal is a perfectly homogenous mixture where the foam and liquid are inseparable until they hit the cup.
4. The Thermal Cut-off
Close the valve the moment the pitcher becomes too hot to hold comfortably, typically around 60 to 65 degrees Celsius. Exceeding 70 degrees Celsius will cause the proteins to over-denature, releasing a sulfurous aroma and destroying the natural sweetness of the lactose.
Pro Tip: Use a bench scraper to clean your workstation immediately after. Dried milk on a steam wand is a biohazard and an insulation layer that ruins future heat transfer.
Section B: Prep & Timing Fault-Lines:
Timing is the most common point of failure. If the espresso sits for more than 30 seconds while you fiddle with the milk, the "crema" will break, and the flavor profile will turn bitter. Conversely, if the milk sits, the foam will undergo "phase separation," where the light air bubbles rise to the top and the heavy liquid sinks. Technical Fix: Start your milk texturing exactly halfway through the espresso extraction. This synchronization ensures both components are at their peak molecular activity at the moment of integration.
THE VISUAL SPECTRUM
Section C: Thermal & Visual Troubleshooting:
The Masterclass photo illustrates the "Wet Paint" standard. If your foam appears matte or "clumpy," you have introduced too much air during the stretch phase. If the surface shows large, visible bubbles (fish-eyes), your vortex was not powerful enough to shear the oxygen. Visual Cue: A perfect pour will have a reflective, glass-like surface. If the color is dull, the milk was likely overheated, causing the sugars to burn rather than caramelize. To fix uneven browning in the latte art, ensure your pour starts high to "pierce" the crema and ends low to "draw" on the surface.
THE DEEP DIVE
Macro Nutrition Profile:
A standard 300ml serving provides approximately 150 calories; 8g of protein, 12g of carbohydrates (primarily lactose), and 8g of fat. The high fat content is essential for the "mouth-coating" sensation that defines barista-grade beverages.
Dietary Swaps:
- Vegan: Use Oat Milk (Barista Grade) for the best protein-to-fat ratio. Almond milk lacks the protein structure to hold a microfoam and often requires a stabilizer.
- Keto: Substitute whole milk with a 50/50 mix of heavy cream and water. This increases the lipid count while dropping the lactose (sugar) levels.
- GF: Naturally gluten-free, but ensure your vanilla or chocolate additives are certified.
Meal Prep & Reheating Science:
You cannot reheat microfoam. Once the protein structures have denatured and cooled, they lose their elasticity. Re-steaming milk will result in a "burnt" flavor and a complete loss of texture. If you must prep ahead, store the espresso and milk separately and combine only at the moment of consumption.
THE KITCHEN TABLE
Why does my foam disappear after a minute?
This is usually due to "proteolysis" or using milk that is too warm. If the proteins are compromised, they cannot form a stable film around the air bubbles. Always start with ice-cold milk and clean equipment.
Can I use a handheld frother for this?
A handheld frother can aerate, but it cannot infuse heat or create the high-velocity vortex needed for true microfoam. It creates "dry" foam, which sits on top of the coffee rather than integrating with it.
What is the "sweet spot" temperature?
The audit-standard is 62 degrees Celsius. At this temperature, the lactose is at its most perceptible sweetness and the proteins are stable. Anything higher than 70 degrees will scald the milk and ruin the flavor.
My milk is screaming but not spinning. Help!
Your wand angle is too vertical. Tilt the pitcher slightly to the side to force the steam to hit the wall of the jug. This creates the centrifugal force required to generate a proper vortex.
Does fat percentage really matter?
Absolutely. Fat acts as a stabilizer for the air bubbles. Skim milk creates a very stiff, "dry" foam that lacks the viscous mouthfeel of a whole milk latte. For the best results, stick to 3.5% fat.