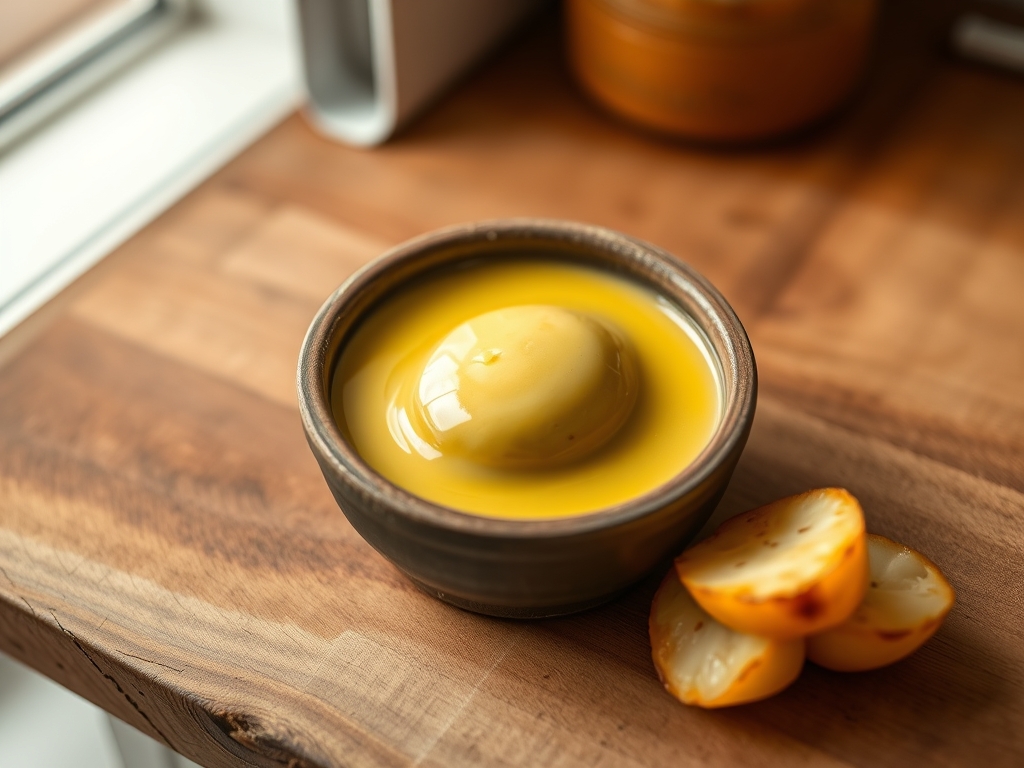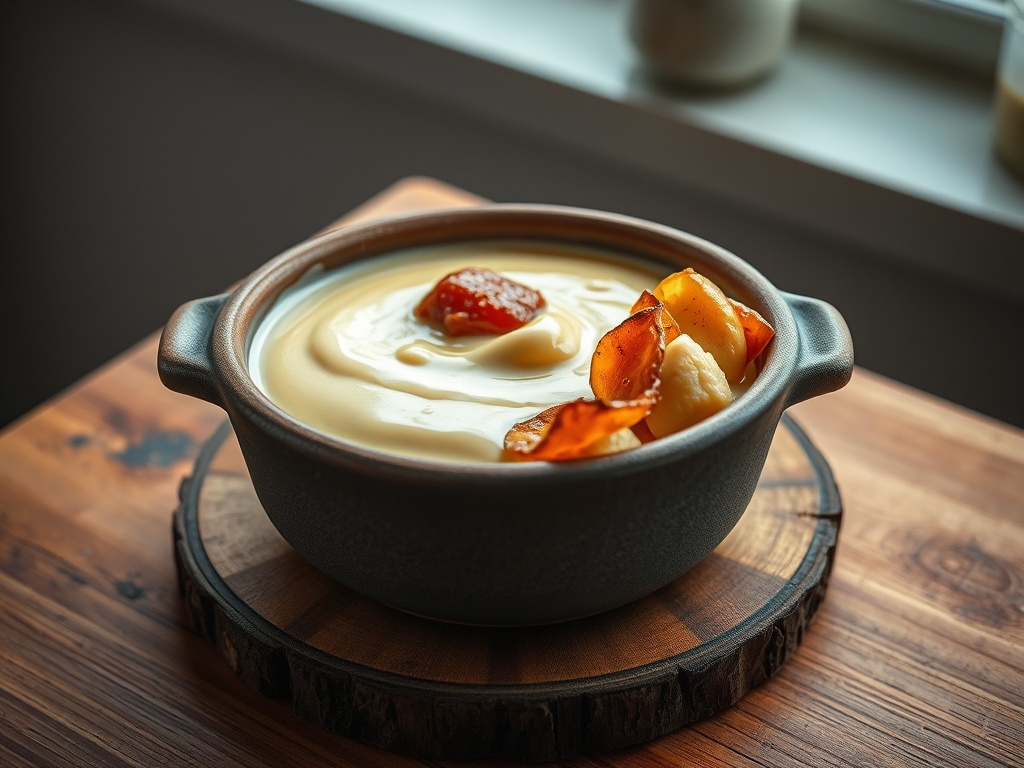
Imagine a culinary diamond forged not by heat or pressure; but by the silent; relentless pull of osmotic gradients. We are talking about Cured Egg Yolks. This is the ultimate kitchen alchemy; a process that transforms a fragile; liquid orb of lipid and protein into a firm; grateable puck of pure umami. When you shave these golden discs over a plate of carbonara or a bitter greens salad; you aren't just adding a garnish. You are deploying a concentrated flavor bomb that has undergone a total structural overhaul. The texture shifts from a viscous liquid to something resembling a fine; aged Manchego. The flavor profile intensifies; shedding the sulfurous notes of a boiled egg in favor of a deep; nutty; and piquant richness. This is high-stakes preservation that rewards the patient technician with a versatile tool for flavor amplification. If you are tired of the mundane; it is time to audit your pantry and prepare for a molecular transformation that turns basic breakfast staples into shelf-stable gold.
THE DATA MATRIX
| Metric | Specification |
|---|---|
| Prep Time | 20 Minutes |
| Execution Time | 4 to 7 Days (Dehydration Phase) |
| Yield | 12 Cured Units |
| Complexity (1-10) | 4 (Requires precision and patience) |
| Estimated Cost per Serving | $0.45 |
THE GATHERS
Ingredient Protocol:
- 12 Large Farm-Fresh Egg Yolks (approx. 216g)
- 500g / 2.25 cups Kosher Salt (Diamond Crystal preferred)
- 500g / 2.25 cups Granulated White Sugar
- 10g / 2 tsp Toasted Peppercorns (optional for infusion)
- 5g / 1 tsp Smoked Paprika (optional for color)
Section A: Ingredient Quality Audit:
The success of Cured Egg Yolks depends entirely on the structural integrity of the raw material. If your yolks are flat and prone to breaking; your osmotic dehydration will fail before it begins. This is often caused by old eggs where the vitelline membrane has weakened. To fix this; source the freshest eggs possible; ideally pasture-raised. If you find your salt mixture is clumping; it likely has high moisture content. Dry your salt in a low oven for ten minutes before mixing with sugar to ensure a free-flowing medium. If the yolks appear pale; the hen's diet lacked carotenoids. While this doesn't ruin the cure; you can "cheat" the visual profile by adding a gram of turmeric to the salt bed to infuse a deeper gold.
THE MASTERCLASS
1. Construct the Desiccant Bed
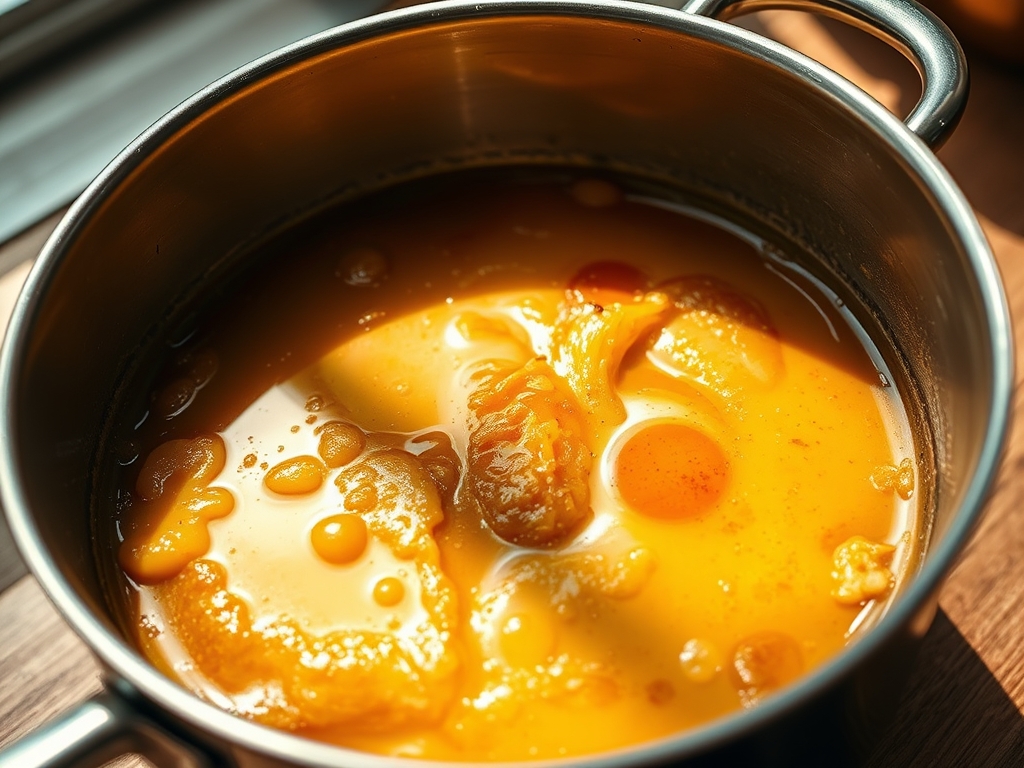
In a large glass bowl; combine your salt and sugar using a digital scale for 1:1 precision. Whisk thoroughly to ensure a homogenous mixture. Spread half of this mixture into a shallow glass baking dish. Use the back of a spoon or a small measuring cup to create twelve neat indentations in the salt bed.
Pro Tip: The sugar in this ratio isn't just for flavor; it acts as a secondary humectant that prevents the salt from turning the yolk into a literal rock. This balance ensures the final product remains grateable rather than brittle.
2. The Separation Protocol
Carefully crack each egg; separating the white from the yolk. Pass the yolk back and forth between the shell halves or use your clean fingers to ensure every trace of albumen is removed. Place one yolk into each indentation in your salt bed.
Pro Tip: Use a bench scraper to clean your workstation frequently. Any stray egg white left on the yolk will cure into a tough; rubbery skin that ruins the uniform texture of the finished puck.
3. The Burial
Gently pour the remaining salt and sugar mixture over the yolks until they are completely submerged. Do not press down; let gravity do the work. Cover the dish tightly with plastic wrap and move it to the refrigerator.
Pro Tip: This is where osmotic dehydration occurs. The high concentration of salt outside the yolk pulls moisture through the semi-permeable membrane. Using a glass dish allows you to monitor the moisture migration without disturbing the yolks.
4. The Extraction and Rinse
After 4 to 5 days; carefully dig the yolks out of the salt. They should feel firm to the touch; like a gummy candy. Rinse each yolk under cold; slow-running water to remove excess salt. Pat them dry very gently with a lint-free paper towel.
Pro Tip: If the yolks still feel soft in the center; they require another 24 hours in the salt. Use a saucier or a small bowl of water to dip them if your faucet pressure is too high; as high pressure can tear the newly formed pellicle.
5. The Final Thermal Set
Place the rinsed yolks on a wire rack set over a baking sheet. Place them in an oven set to its lowest possible temperature (usually 150F / 65C) for 2 hours; or use a dedicated dehydrator. They are done when they look translucent and feel like firm cheddar cheese.
Pro Tip: This step completes the rendering of any remaining moisture and stabilizes the protein structure for long-term storage. Using a wire rack is essential for 360-degree airflow to prevent "flat spots" on the bottom of the yolks.
Section B: Prep & Timing Fault-Lines:
The most common failure in this protocol is the "Rushed Extraction." If you pull the yolks before the 4-day mark; the core remains viscous and liquid. When you attempt to rinse them; the yolk will collapse. Conversely; leaving them for over 10 days in the salt will result in an oversalted; hard puck that is impossible to grate. Use a calendar to track your "Burial" date. If your refrigerator is set too cold (near freezing); the molecular movement slows down; requiring an extra 48 hours for a full cure.
THE VISUAL SPECTRUM
Section C: Thermal & Visual Troubleshooting:
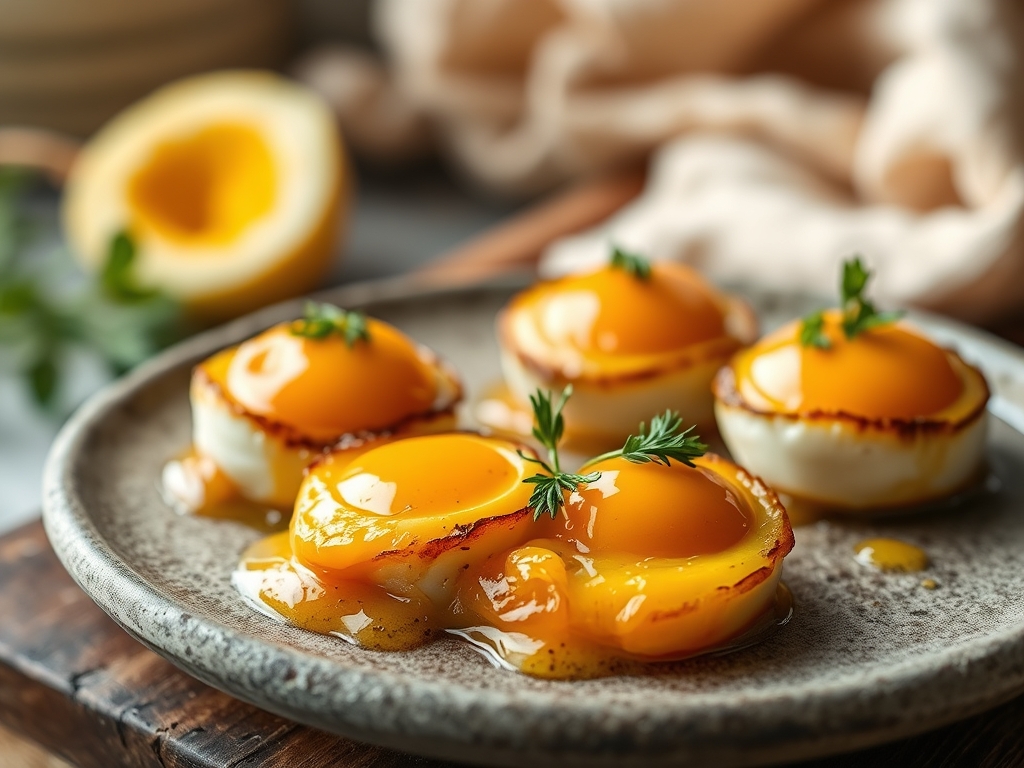
Referencing the Masterclass photo; a perfect Cured Egg Yolk should possess a glowing; amber translucency. If your yolks appear dull or opaque; you likely skipped the rinsing step or failed to pat them dry; leaving a salt crust on the surface. If the edges are dark brown but the center is bright orange; your oven temperature was too high; causing the exterior to render and oxidize too quickly. To fix a "tough" exterior; you can lightly shave the outer layer with a microplane to reveal the vibrant; consistent color underneath. The goal is a uniform; jewel-like appearance that suggests a concentrated essence of fat and salt.
THE DEEP DIVE
Macro Nutrition Profile:
Each cured yolk contains approximately 60 calories; 5g of fat; 2.5g of protein; and 0g of carbohydrates. However; the sodium content is significantly higher than a standard egg; typically ranging from 150mg to 250mg depending on the rinse thoroughness.
Dietary Swaps:
For a Keto-friendly version; this recipe is already perfect. For a Vegan alternative; one can mimic the texture using a firm tofu "yolk" marinated in nutritional yeast; miso; and kala namak (black salt) for that sulfuric punch; though it will lack the same viscous mouthfeel of the original.
Meal Prep & Reheating Science:
Cured Egg Yolks are the ultimate meal prep hack. Once dried; they can be stored in an airtight container in the fridge for up to one month. Do not reheat them directly; as heat will melt the stabilized fats and ruin the texture. Instead; grate them over hot dishes; allowing the residual heat of the food to slightly soften the fats and release the piquant aroma.
THE KITCHEN TABLE
How do I know if they are cured?
They should feel like firm dried apricots or a semi-hard cheese. If you press the center and it feels "squishy" or liquid; they need more time in either the salt bed or the low-heat drying phase.
Can I reuse the salt mixture?
Yes; but you must dry it out. Spread the used salt/sugar mix on a tray and bake at 200F for 20 minutes to evaporate the moisture absorbed from the yolks. Sift out any clumps before the next batch.
What is the best way to serve them?
Microplane them over everything. They excel on avocado toast; roasted asparagus; or even a rich beef tartare. The salt and fat content acts as a natural flavor enhancer that makes every bite more viscous and savory.
Why did my yolks break in the salt?
You likely dropped them from too high or the salt was too coarse. Use fine Kosher salt and lower the yolks gently into their "nests" using a large spoon to avoid rupturing the delicate membrane.