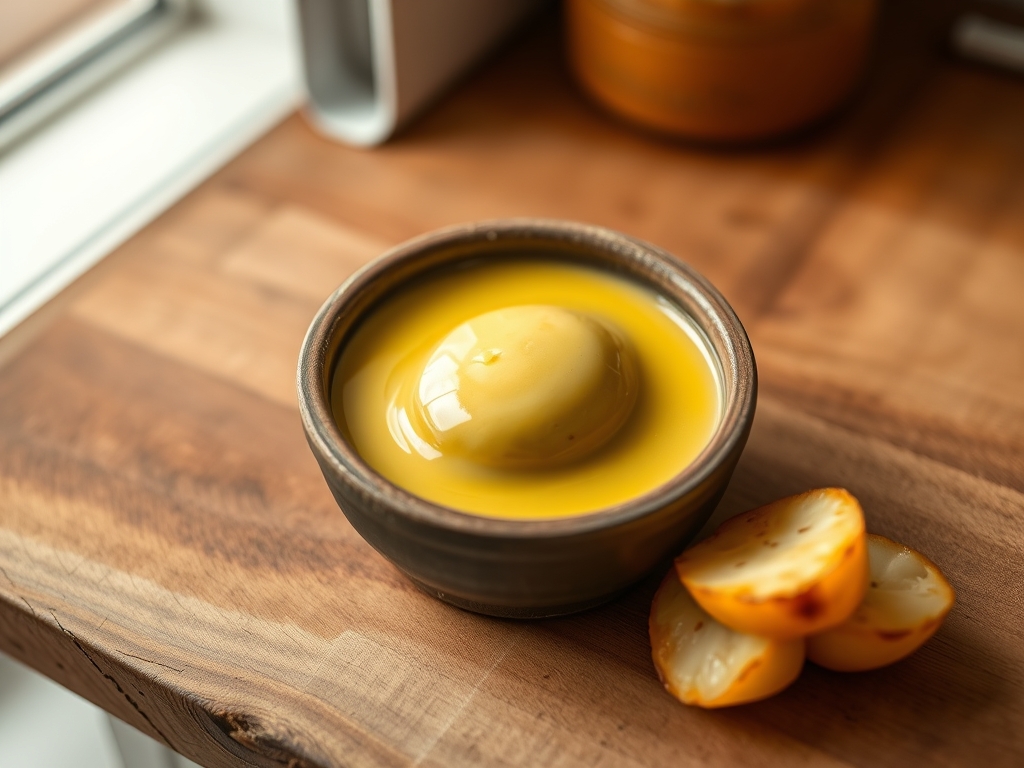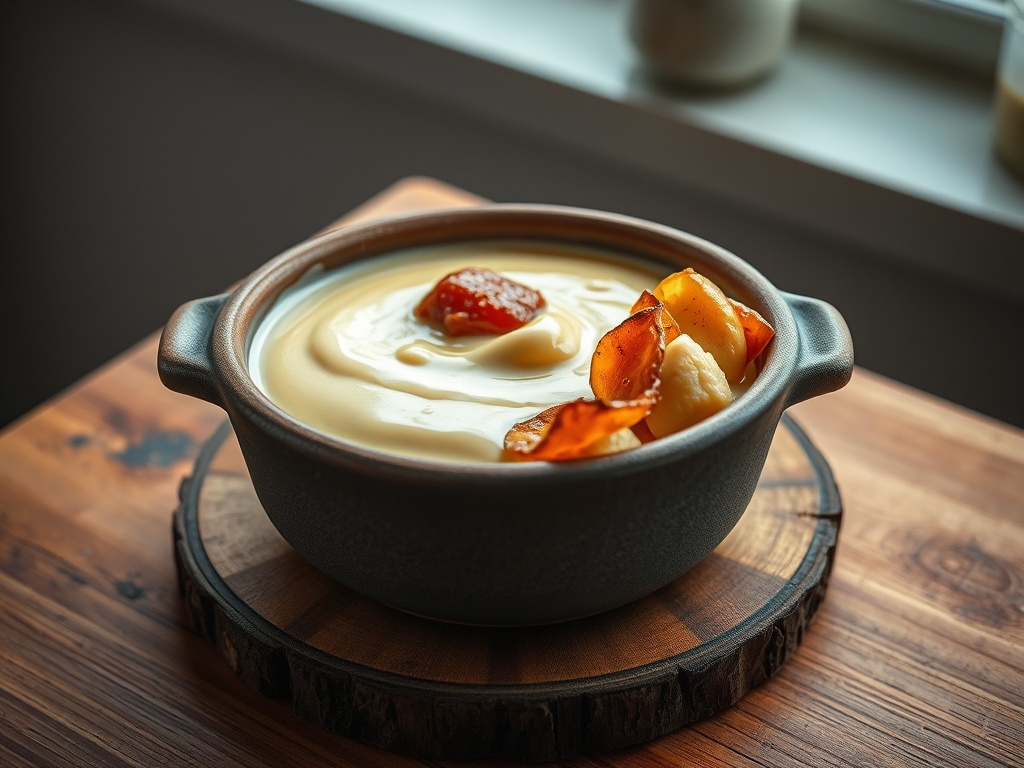
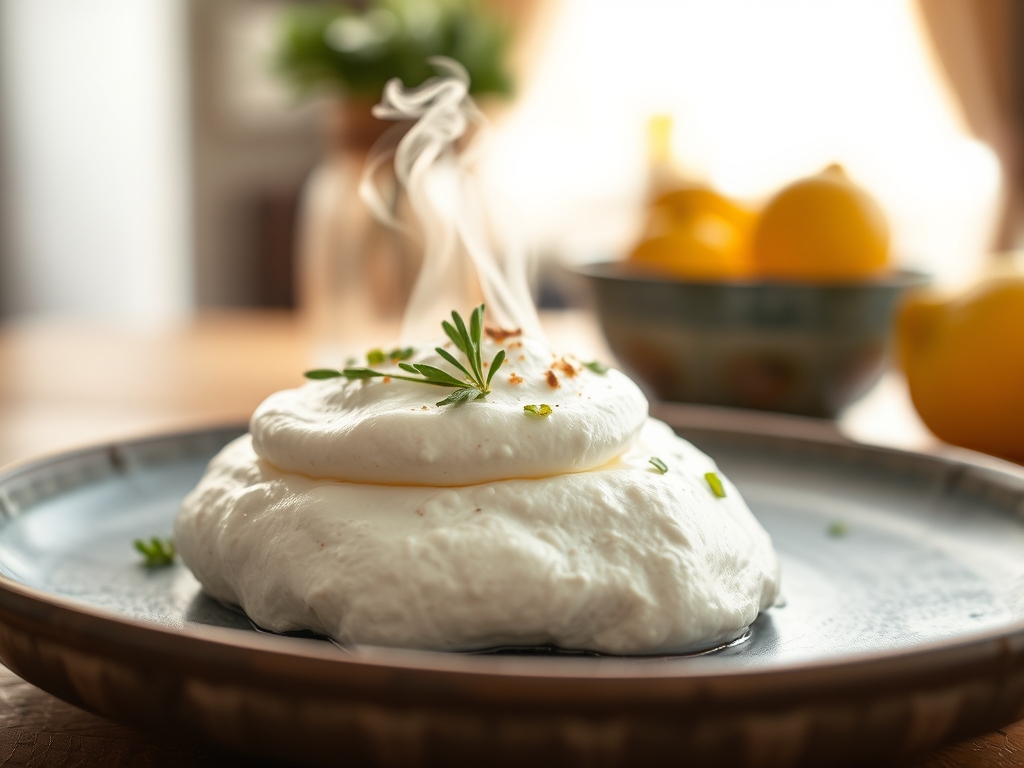
Listen to the sound of a thousand microscopic bubbles screaming as they are forced into a structural lattice. That is the sound of success. We are not just making a topping; we are engineering a Lemon Meringue Foam that defies the laws of gravity and liquid tension. Imagine a cloud that tastes like a lightning bolt. It is sharp, piquant, and possesses a structural integrity that would make a civil engineer weep with joy. This is the ultimate test of protein denaturation. We are taking the humble egg white and subjecting it to high-velocity aeration and thermal stabilization. The result is a viscous, shimmering masterpiece that sits atop a tart lemon curd like a crown of snow. If you have ever suffered through a weeping, sad, or rubbery meringue, consider this your formal intervention. We are moving away from guesswork and into the realm of precision culinary infrastructure. Grab your whisk and check your ego at the kitchen door. It is time to audit your technique and build something legendary.
THE DATA MATRIX
| Metric | Specification |
|---|---|
| Prep Time | 25 Minutes |
| Execution Time | 15 Minutes |
| Yield | 8 Servings |
| Complexity (1-10) | 7 |
| Estimated Cost per Serving | $1.15 |
THE GATHERS
Ingredient Protocol:
- 240ml / 1 cup Egg Whites (approximately 8 large eggs)
- 400g / 2 cups Superfine Granulated Sugar
- 5ml / 1 tsp Cream of Tartar
- 15ml / 1 tbsp Fresh Lemon Juice
- 2g / 0.5 tsp Fine Sea Salt
- 5ml / 1 tsp Pure Vanilla Bean Paste
- Lemon Zest from 2 Organic Lemons
Section A: Ingredient Quality Audit:
The primary failure point in any Lemon Meringue Foam is lipid contamination. If even a microscopic drop of yolk enters your whites, the fat molecules will interfere with the protein strands, preventing them from forming a stable network. Always crack eggs into a separate ramekin before adding them to the primary bowl. If your sugar is too coarse, it will not dissolve, leading to a "gritty" mouthfeel and eventual weeping. The fix is simple: pulse standard sugar in a high-speed blender for ten seconds to create a DIY superfine texture. Furthermore, ensure your lemon juice is fresh. Bottled juice contains preservatives that can alter the pH balance, hindering the denaturation process. If your whites are too cold, they will resist expansion. Audit your temperature by ensuring eggs are at a stable room temperature of 21C (70F) before you begin the aeration process.
THE MASTERCLASS
1. The Sanitization Sweep
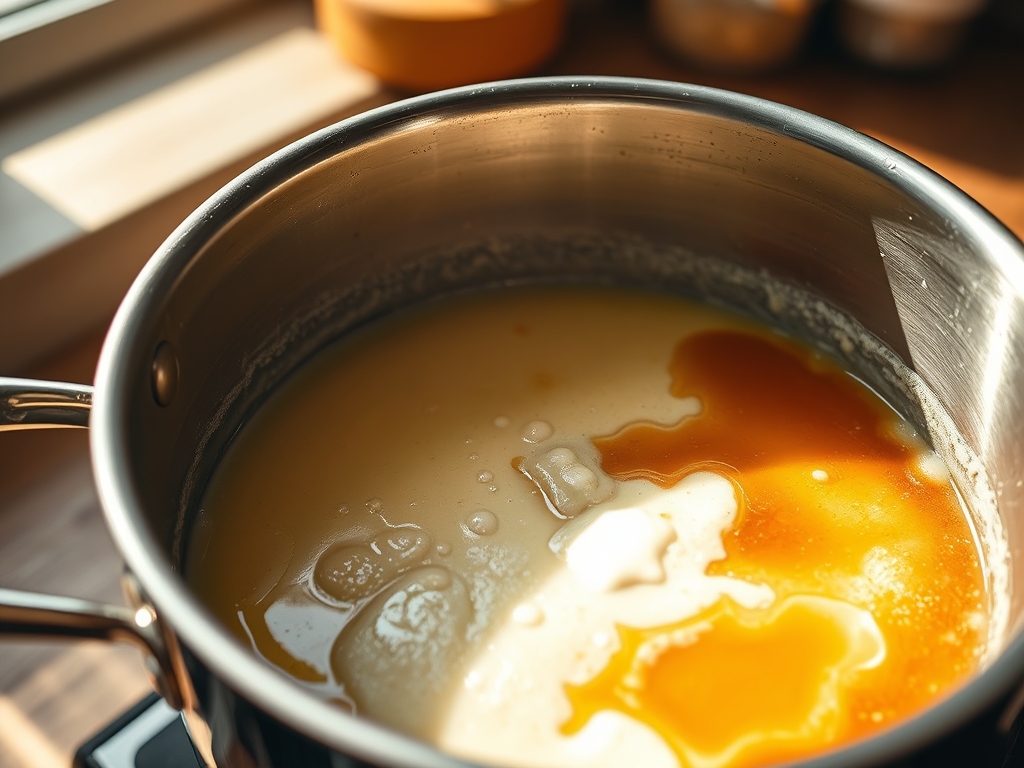
Before a single egg is cracked, you must audit your equipment. Wipe down your stainless steel mixing bowl and whisk attachment with a paper towel dampened with lemon juice or white vinegar. This removes any residual film or grease that could sabotage your foam.
Pro Tip: Use a digital scale to measure your egg whites by weight rather than volume. Egg sizes vary wildly; precision in mass ensures a consistent sugar-to-protein ratio every time.
2. Initial Aeration and Acid Introduction
Place your egg whites in the bowl and begin whisking on low speed. Once the surface is covered in small, uniform bubbles, add the cream of tartar and sea salt. This acidifies the environment, which helps the egg proteins uncoil and bond more effectively.
Pro Tip: A copper bowl is the professional tool of choice here. The ions in the copper bond with the conalbumin in the egg whites to create a remarkably stable foam that is less likely to overbeat.
3. The Gradual Sugar Infusion
Increase the speed to medium-high. Begin adding your superfine sugar one tablespoon at a time. Do not rush this. If you dump the sugar in all at once, you will collapse the air cells you have worked so hard to create.
Pro Tip: Use a silicone spatula to scrape the sides of the bowl halfway through. This ensures every grain of sugar is incorporated into the viscous matrix, preventing later crystallization.
4. Reaching the Stiff Peak Threshold
Continue whisking until the mixture is thick, glossy, and holds a sharp, upright peak when the whisk is lifted. At this stage, fold in the lemon juice and vanilla bean paste. The foam should look like polished porcelain.
Pro Tip: Rub a small amount of the foam between your thumb and forefinger. If it feels smooth, the sugar is dissolved. If it feels grainy, continue whisking for another sixty seconds.
5. Thermal Stabilization (The Blowtorch Finish)
Transfer the foam to a piping bag and apply it to your lemon base. Use a culinary blowtorch to lightly toast the exterior. This creates a Maillard reaction on the surface, adding a complex toasted flavor and a beautiful visual contrast.
Pro Tip: Hold the torch at a 45-degree angle and keep it moving constantly. You want a gradient of gold to deep mahogany, not a charred carbon crust.
Section B: Prep & Timing Fault-Lines:
The most common timing error is overbeating. If the foam looks "dry" or starts to clump like cottage cheese, the protein network has tightened too much and squeezed out the water. You cannot fix this; you must restart. Another fault-line is the "weeping" effect, where liquid pools at the bottom. This happens if the sugar is not fully dissolved or if the foam is refrigerated in a high-humidity environment. To mitigate this, always apply the foam to a slightly warm lemon curd. The residual heat from the curd helps "cook" the bottom layer of the foam, creating a structural bond that prevents sliding and leaking.
THE VISUAL SPECTRUM
Section C: Thermal & Visual Troubleshooting:
Referencing the Masterclass photo, your goal is a high-definition silhouette with sharp, distinct ridges. If your ridges are drooping, your foam lacks sufficient air density; you likely stopped whisking too early. If the browning is splotchy, your torch technique was inconsistent. The photo shows a soft, matte white interior with a crisp, amber exterior. If your foam appears translucent or grey, your eggs were likely old, or you incorporated too much liquid acid too quickly. A perfect Lemon Meringue Foam should have a "memory" when touched. It should spring back slightly, indicating a robust internal architecture. If the foam collapses under its own weight, audit your sugar-to-protein ratio; you may need to increase the sugar by 10% to provide more structural "scaffolding."
THE DEEP DIVE
Macro Nutrition Profile:
Per serving, this foam is primarily composed of simple carbohydrates and high-quality protein. It contains approximately 120 calories, 0g fat, 28g carbohydrates, and 4g protein. It is a fat-free way to add significant volume and luxury to a dessert.
Dietary Swaps:
- Vegan: Replace egg whites with 180ml of Aquafaba (chickpea brine). Add 0.5 tsp of xanthan gum to help stabilize the structure, as plant proteins are less resilient than avian proteins.
- Keto: Substitute granulated sugar with a powdered Erythritol/Monkfruit blend. Note that sugar-free foams will not caramelize as deeply under a torch.
- GF: This recipe is naturally gluten-free. Ensure your vanilla paste does not use grain-based alcohol as a carrier.
Meal Prep & Reheating Science:
Meringue foam is a fleeting masterpiece. It is best consumed within 3 hours of creation. To maintain the molecular structure for up to 12 hours, store the finished product in a cool, dry place. Never cover it with plastic wrap, as the trapped moisture will dissolve the sugar lattice and turn your foam into a sticky syrup. Reheating is not recommended, as the delicate air cells will expand and burst in a microwave or oven.
THE KITCHEN TABLE
Why is my meringue "sweating" beads of syrup?
This is syneresis. It occurs when sugar is not fully dissolved or when the foam is overcooked. The sugar attracts moisture from the air, creating those amber droplets. Use superfine sugar and avoid making meringue on rainy, humid days.
Can I use a hand mixer instead of a stand mixer?
Yes, but prepare for a workout. A hand mixer takes approximately twice as long to achieve stiff peaks. Ensure you move the beaters in a consistent circular motion to aerate the entire volume of the whites evenly.
My foam is grainy even after long whisking. Why?
Your sugar crystals were too large to begin with. Once the proteins start to set, it becomes harder for the sugar to dissolve. Always audit your sugar texture before starting. Pulse it in a blender if it feels coarse.
Is cream of tartar absolutely necessary?
Technically no, but practically yes. It acts as a stabilizer by preventing the egg proteins from bonding too tightly. Without it, your foam is much more likely to collapse or become "chunky" and overbeaten during the whisking process.