Forget the leaden, brick-like density of standard schmear that tears through your morning bagel like a tectonic shift. We are here to discuss the high-stakes engineering of gas phase incorporation. When we talk about Whipped Cream Cheese, we are not just talking about a condiment; we are discussing the strategic manipulation of lipid structures to achieve maximum buoyancy. This is a technical audit of your breakfast infrastructure. We are looking for a cloud-like matrix that holds its shape while offering zero resistance to the knife. The goal is a piquant, aerated masterpiece that defies gravity. If your current spread has the structural integrity of a sidewalk slab, your kitchen is failing its efficiency goals. We are going to take cold, stubborn fats and introduce a controlled volume of atmospheric nitrogen and oxygen through mechanical agitation. This process transforms a dense dairy block into a sophisticated, viscous foam. Prepare to recalibrate your expectations of what a spreadable asset can achieve. We are moving from the Neolithic era of solid blocks into the golden age of aerated dairy.
THE DATA MATRIX
| Metric | Specification |
|---|---|
| Prep Time | 5 Minutes |
| Execution Time | 10 Minutes |
| Yield | 350g / 1.5 Cups |
| Complexity (1-10) | 3 |
| Estimated Cost per Serving | $0.45 |
THE GATHERS
Ingredient Protocol:
- 225g / 8 oz Full-Fat Brick Cream Cheese (Room Temperature)
- 30ml / 2 tbsp Heavy Cream (Cold)
- 2g / 0.5 tsp Fine Sea Salt
- 1g / 0.25 tsp Onion Powder (Optional for Savory Profiles)
- 5ml / 1 tsp Honey or Agave (Optional for Sweet Profiles)
Section A: Ingredient Quality Audit:
The primary failure point in this protocol is the "Light" or "Neufchatel" variation. These products possess a higher water-to-fat ratio, which compromises the stability of the air bubbles you are trying to trap. If you find yourself with a low-fat substitute, you must stabilize the matrix with a stabilizer like Xanthan Gum (0.1% by weight). Furthermore, if your cream cheese is grainy, it indicates a temperature shock during storage. To fix this, you must render the cheese slightly warmer than room temperature before starting the mechanical aeration to ensure the fat globules are sufficiently plastic.
THE MASTERCLASS
1. Thermal Calibration
Place your cream cheese on a digital scale to ensure precise mass. It must reach exactly 20 degrees Celsius (68 degrees Fahrenheit). If the lipids are too cold, they will resist the incorporation of air; if they are too warm, the emulsion will collapse into a greasy puddle.
Pro Tip: Use a digital scale for the cream and cheese to ensure the ratio is exact. Precise weight measurement prevents the mixture from becoming too runny, which is a common failure in volumetric measuring.
2. Initial Breakdown
Place the cheese into the bowl of a stand mixer. Using the paddle attachment, beat the cheese on medium speed for two minutes. You are looking for a smooth, glossy finish before any air is introduced. Use a bench scraper or flexible spatula to clear the "dead zones" at the bottom of the bowl.
Pro Tip: This stage is about breaking the crystalline structure of the cold fats. Professional chefs use a saucier whisk if doing this by hand to ensure every molecule is agitated, but a stand mixer provides the necessary torque for a perfect breakdown.
3. The Aeration Phase
Switch to the whisk attachment. This is where we aerate the substrate. Turn the mixer to medium-high and begin adding the heavy cream in a slow, steady stream. The cream acts as a lubricant, allowing the cheese to stretch and trap air pockets without breaking the protein bonds.
Pro Tip: The science here is "overrun," a term used in ice cream production. By introducing air, you increase the volume by 30 to 50 percent. A digital thermometer can ensure the friction of the whisking isn't heating the fats too rapidly.
4. Flavor Infusion and Final Polish
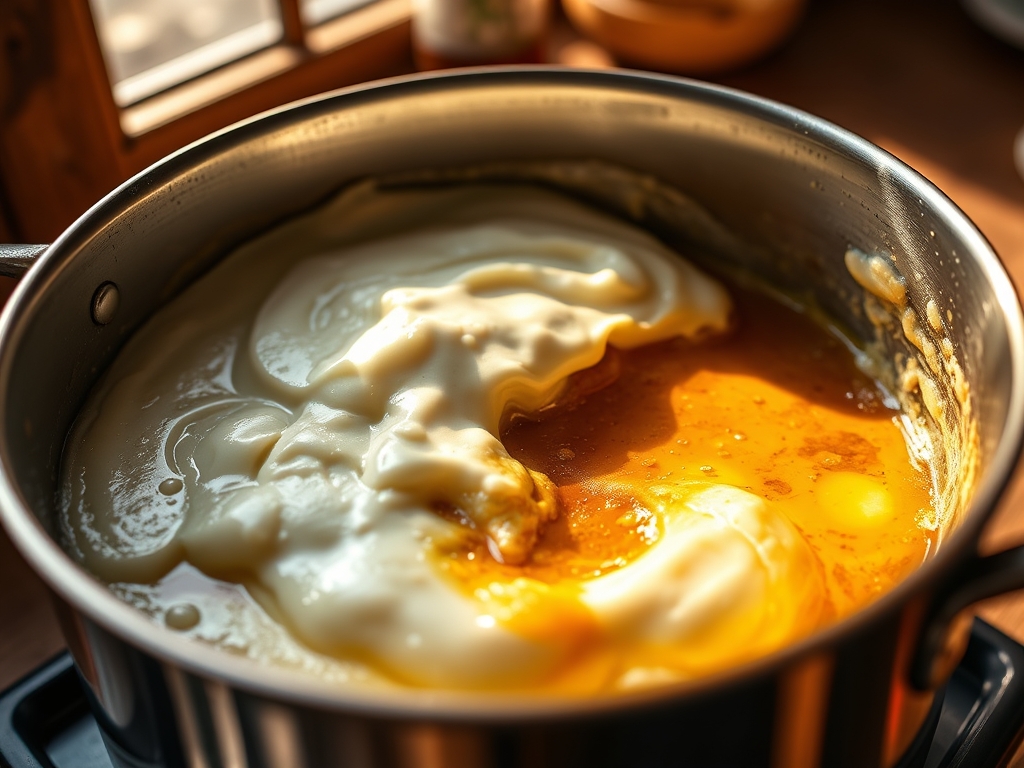
Add your salt and any optional aromatics. Turn the mixer to its highest setting for the final 60 seconds. The mixture should transition from a yellowish tint to a brilliant, stark white. This visual shift indicates that light is now refracting off millions of microscopic air bubbles.
Pro Tip: Use a microplane if adding citrus zest or garlic at this stage. Fine particles integrate seamlessly into the foam without weighing down the delicate structure you have just engineered.
Section B: Prep & Timing Fault-Lines:
The most common human error is the "Cold Start." Attempting to whip cream cheese directly from the refrigerator results in "beading," where small lumps of dense fat remain suspended in a thinner liquid. If this occurs, stop the mixer immediately. Place the bowl over a pot of simmering water for 30 seconds to gently soften the lumps, then resume whisking. Timing is also critical; over-whipping will eventually cause the heavy cream to turn into butter, resulting in a grainy, separated mess that is impossible to salvage.
THE VISUAL SPECTRUM
Section C: Thermal & Visual Troubleshooting:
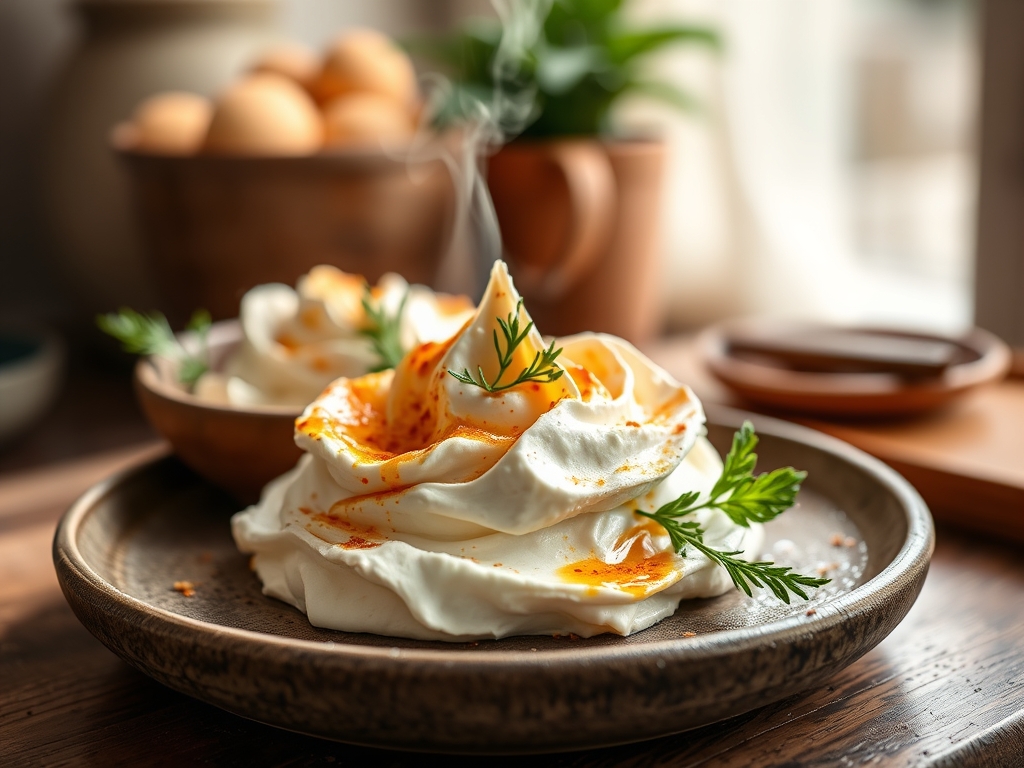
In the reference photo, notice the "stiff peak" architecture. The cream cheese should hold a sharp, defined edge when the whisk is lifted. If your product looks "slumped" or loses its shape within seconds, the fat content is too low or the temperature is too high. A dull, matte finish suggests the cream was not fully incorporated; a high-quality whipped spread should have a satin-like sheen. If the color appears uneven, it means your dry inclusions (like salt or onion powder) were not sifted. To fix a dull appearance, a final 30-second high-speed burst usually restores the necessary light-refracting air density.
THE DEEP DIVE
Macro Nutrition Profile:
Per 30g serving, you are looking at approximately 100 calories, 10g of fat, 2g of protein, and 1g of carbohydrates. The aeration process does not change the caloric density by weight, but it significantly reduces the caloric density by volume. You are essentially eating "air" for a portion of the bite, which aids in portion control.
Dietary Swaps:
For a Vegan audit, swap the dairy for a cashew-based fermented cheese and use coconut cream as the aerating agent. The high saturated fat content of coconut cream mimics the structural integrity of bovine lipids. For Keto and GF protocols, this recipe is already compliant, as it relies on pure fats and proteins.
Meal Prep & Reheating Science:
Maintaining the molecular structure of a foam is difficult over time. When stored in the refrigerator, the air bubbles will naturally begin to coalesce. Do not reheat this product in a microwave; the rapid agitation of water molecules will melt the fat lattice and cause total structural collapse. To revive "tired" whipped cream cheese, simply give it a quick 30-second manual whisking to re-introduce lost gases.
THE KITCHEN TABLE
Why is my whipped cream cheese watery?
This usually occurs due to syneresis, where the protein structure contracts and expels liquid. This happens if the cheese was previously frozen or if you used a "spreadable" tub cheese instead of a firm brick as your base.
Can I add fresh herbs to the mix?
Yes, but they must be bone-dry. Any residual moisture on the herbs will act as a surfactant and pop the air bubbles you have worked so hard to create. Finely mince and fold them in at the very end.
How long will this stay aerated?
In an airtight container, the structural integrity will hold for approximately 5 to 7 days. After that, the weight of the fats will slowly compress the air out of the bottom layers, leading to a loss of volume.
Is a stand mixer strictly necessary?
While a hand mixer works, a stand mixer provides the consistent, high-velocity shear required for a professional-grade "overrun." Manual whisking is possible but requires significant caloric expenditure and a very high-quality balloon whisk.