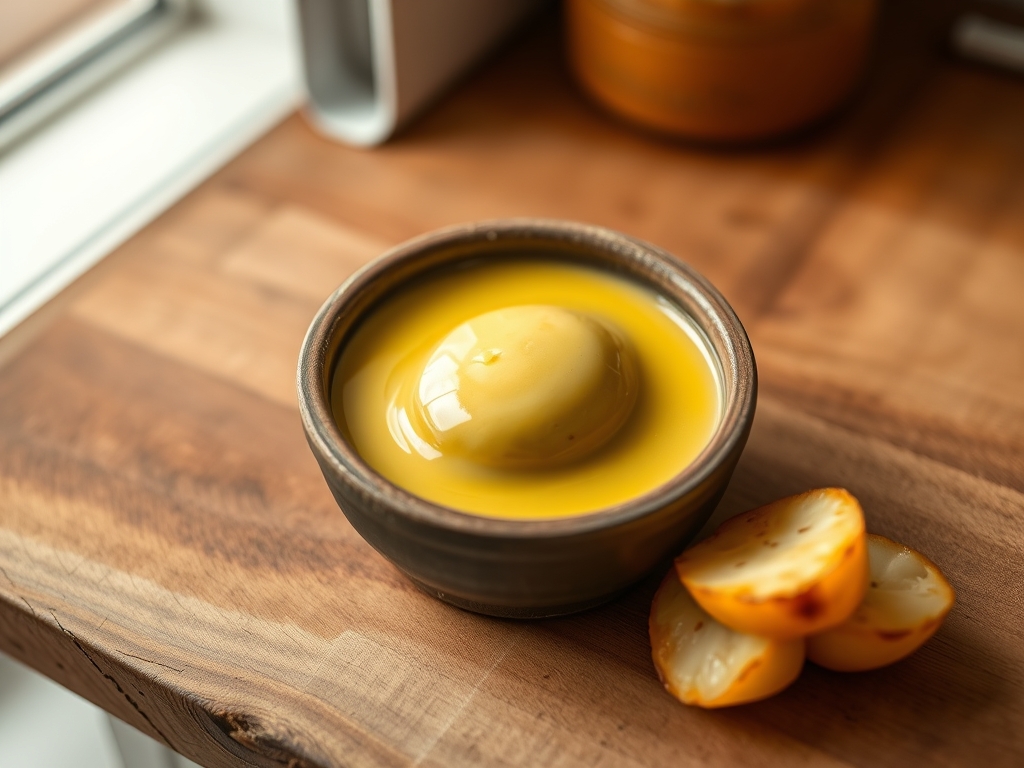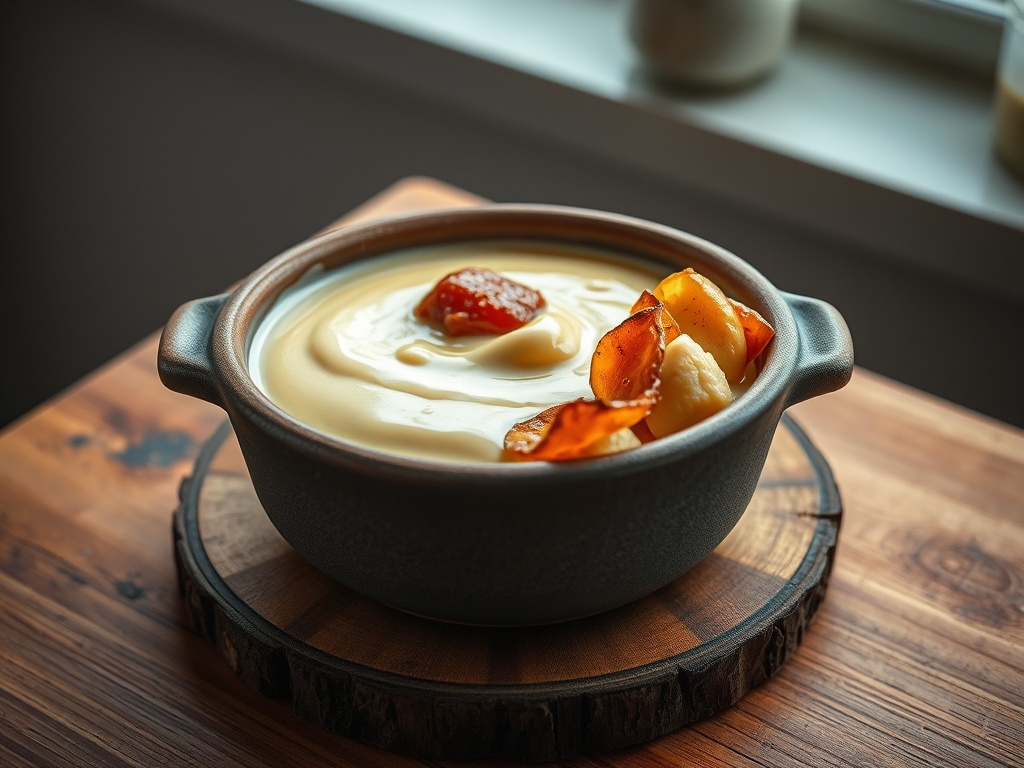
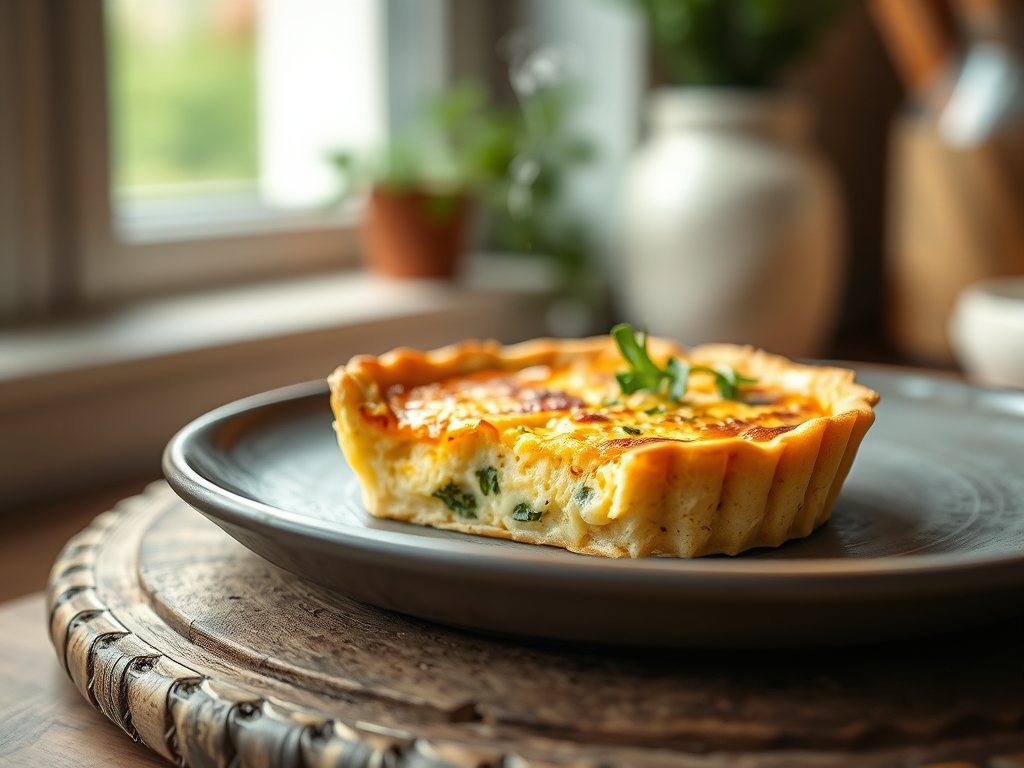
Stop treating your brunch centerpiece like a secondary thought. We are here to conduct a full-scale Quiche Custard Audit. Most home cooks treat the savory pie gel as a chaotic scramble of eggs and dairy; they pray to the oven gods for a set center while ignoring the physics of protein coagulation. That ends today. We are building a structural masterpiece that balances the viscous elegance of heavy cream with the structural integrity of albumin. A perfect quiche is not a solid block of cooked egg. It is a suspended matrix of fat and water, held together by a delicate web of denatured proteins. If your current output is weeping liquid onto the plate or sporting a rubbery, over-coagulated texture, your infrastructure is failing. We are looking for a piquant flavor profile and a texture that shears like silk under a fork. This audit will strip your technique down to the molecular level and rebuild it with professional-grade precision. Prepare to engineer the most luxurious savory custard of your career.
THE DATA MATRIX
| Metric | Specification |
|---|---|
| Prep Time | 25 Minutes |
| Execution Time | 45-50 Minutes |
| Yield | 1 Deep-Dish 9-inch Pie |
| Complexity (1-10) | 6 |
| Estimated Cost per Serving | $2.15 |
THE GATHERS
Ingredient Protocol:
- 4 Large Eggs (approx. 200g / 0.85 cups)
- 2 Large Egg Yolks (approx. 36g / 0.15 cups)
- 300ml / 1.25 cups Heavy Cream (min 36% milkfat)
- 150ml / 0.65 cups Whole Milk
- 150g / 1.5 cups Gruyere Cheese (finely grated)
- 2g / 0.5 tsp Nutmeg (freshly grated)
- 5g / 1 tsp Fine Sea Salt
- 2g / 0.5 tsp White Pepper (finely ground)
- 1 Pre-baked Pie Shell (blind-baked to a golden hue)
Section A: Ingredient Quality Audit:
The most common failure point is moisture migration. If your vegetables are not properly pre-cooked, they will render their internal water into the custard during the bake, causing the gel to break. Always sauté mushrooms or spinach until they cease releasing steam. If your cream has a low fat content, the custard will lack the necessary viscous mouthfeel and may curdle. Fix this by ensuring you use heavy whipping cream rather than "half-and-half" which lacks the stabilizing lipids required for a high-heat environment. If using pre-shredded cheese, the cellulose coating will prevent a smooth melt; always hand-grate from a block to ensure the proteins integrate seamlessly into the dairy matrix.
THE MASTERCLASS
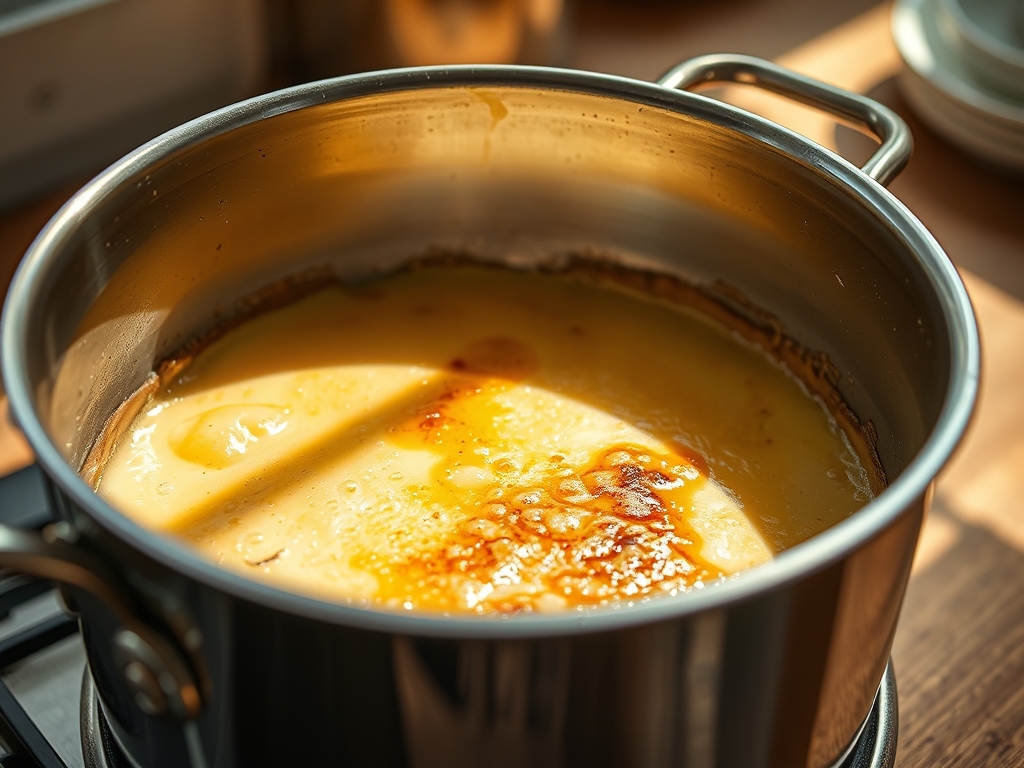
1. The Dairy Tempering Phase
In a stainless steel saucier, combine your heavy cream and whole milk over low heat. You are not looking to boil the liquid; you are aiming for a gentle thermal rise to approximately 40 degrees Celsius. This lowers the thermal shock when the dairy meets the eggs.
Pro Tip: Warming the dairy allows you to infuse aromatics like thyme or peppercorns more effectively. Use a digital scale to ensure your ratios are exact, as even a 10 percent deviation in liquid can prevent the custard from setting.
2. Protein Aeration and Integration
Whisk your eggs and extra yolks in a large glass bowl. Do not over-work the proteins. You want to break the chalazae and combine the whites and yolks without incorporating excessive air. Excessive bubbles lead to a "spongy" texture rather than a dense, creamy gel.
Pro Tip: Use a circular whisking motion rather than a vertical beating motion. Over-aeration creates a foam that rises in the oven and then collapses, leaving an unsightly rim around the crust. A bench scraper can be used to clean your workstation of any stray eggshells or spills during this high-precision phase.
3. The Emulsification Bridge
Slowly stream the warmed dairy into the egg mixture while whisking constantly. This is the "bridge" where the fats from the cream begin to coat the egg proteins, preventing them from bonding too tightly. Add your salt, white pepper, and nutmeg at this stage.
Pro Tip: Straining the mixture through a fine-mesh chinois or sieve at this point is the secret to a professional finish. It removes any undissolved protein strands, ensuring the final texture is perfectly homogenous and silky.
4. The Structural Assembly
Place your pre-baked crust on a rimmed baking sheet. Layer your dry ingredients (cheese and pre-cooked fillings) at the bottom. Pour the custard mixture over the fillings until it reaches 3 millimeters below the crust line.
Pro Tip: Gravity is your friend. Let the filled quiche sit for two minutes before placing it in the oven. This allows the liquid to settle into every crevice of the fillings, preventing air pockets that could cause uneven cooking or structural "sinkholes."
5. Thermal Management
Bake at 165 degrees Celsius (325 degrees Fahrenheit). This lower temperature prevents the outer edges of the custard from overcooking before the center reaches its target temperature of 77 degrees Celsius (170 degrees Fahrenheit).
Pro Tip: Use an instant-read thermometer to check the center. The quiche should have a slight "jiggle" in the middle, similar to set gelatin. It will continue to carry-over cook once removed from the heat, reaching its final structural stability on the counter.
Section B: Prep & Timing Fault-Lines:
The most catastrophic error is the "Hot Fill." If you pour boiling-hot sautéed vegetables directly into the raw egg mixture, you will cook the eggs prematurely, resulting in a chunky, broken mess. Always allow your fillings to reach room temperature. Furthermore, the "Cold Crust" error occurs when a refrigerated crust is hit with warm custard; the thermal delta can cause the pastry to shatter or become soggy. Ensure your crust is warm or room temperature before the final pour.
THE VISUAL SPECTRUM
Section C: Thermal & Visual Troubleshooting:
Review the Masterclass photo. Notice the matte finish of the custard surface with localized patches of Maillard browning on the cheese. If your quiche is puffed up like a souffle, your oven temperature was too high; the steam expanded the protein cells too rapidly. If the surface is weeping clear liquid, you have over-coagulated the eggs, squeezing the water out of the protein web. A dull, greyish tint indicates oxidation or old eggs; always use the freshest pasture-raised eggs for a vibrant, golden interior. If the crust is pale, you skipped the crucial "blind bake" step. A perfect audit result shows a crisp, mahogany crust and a custard that stands tall without slouching when sliced.
THE DEEP DIVE
Macro Nutrition Profile:
A single serving of this engineered custard provides approximately 320 calories, 26g of fat, 14g of protein, and 8g of carbohydrates (excluding the crust). The high fat-to-protein ratio is what delivers the signature mouthfeel.
Dietary Swaps:
For a Keto-compliant version, utilize a crushed nut crust (almond flour and butter). For a Gluten-Free iteration, ensure your thickeners in the pre-cooked fillings are replaced with arrowroot starch. For a Vegan alternative, the "custard" must be reconstructed using silken tofu and nutritional yeast, though the molecular "snap" of the albumin will be absent.
Meal Prep & Reheating Science:
To maintain the molecular structure during reheating, avoid the microwave. Microwaves vibrate water molecules, which can cause the protein web to tighten and squeeze out moisture, resulting in a "rubbery" texture. Instead, reheat in a 150-degree Celsius oven for 12 minutes. This gentle thermal application preserves the delicate emulsion and keeps the crust crisp.
THE KITCHEN TABLE
Why is my quiche watery at the bottom?
This is usually "syneresis." Either the vegetables were too wet or the eggs were overcooked. The protein network tightened so much it squeezed out the liquid. Always sauté fillings thoroughly and check the internal temperature with a probe.
Can I use milk instead of heavy cream?
You can, but the structural integrity will suffer. Milk has a higher water content and fewer stabilizing lipids. Your custard will be thinner and more prone to curdling. If you must, add an extra egg yolk to compensate.
How do I prevent the crust from getting soggy?
The "blind bake" is non-negotiable. You must bake the crust with weights, then remove the weights and bake until the bottom is sealed. Brushing the raw crust with egg wash before the blind bake creates a waterproof protein barrier.
What is the ideal cheese for a quiche gel?
High-fat, semi-firm cheeses like Gruyere, Comté, or aged Swiss are superior. They melt smoothly into the custard without breaking the emulsion. Avoid extremely oily cheeses like cheap cheddar, which can leave a greasy film on the surface.
How long should the quiche rest before slicing?
At least 20 minutes. The custard needs time to complete its final "set" as the temperature drops. Slicing too early will cause the warm gel to slump and lose its architectural definition.