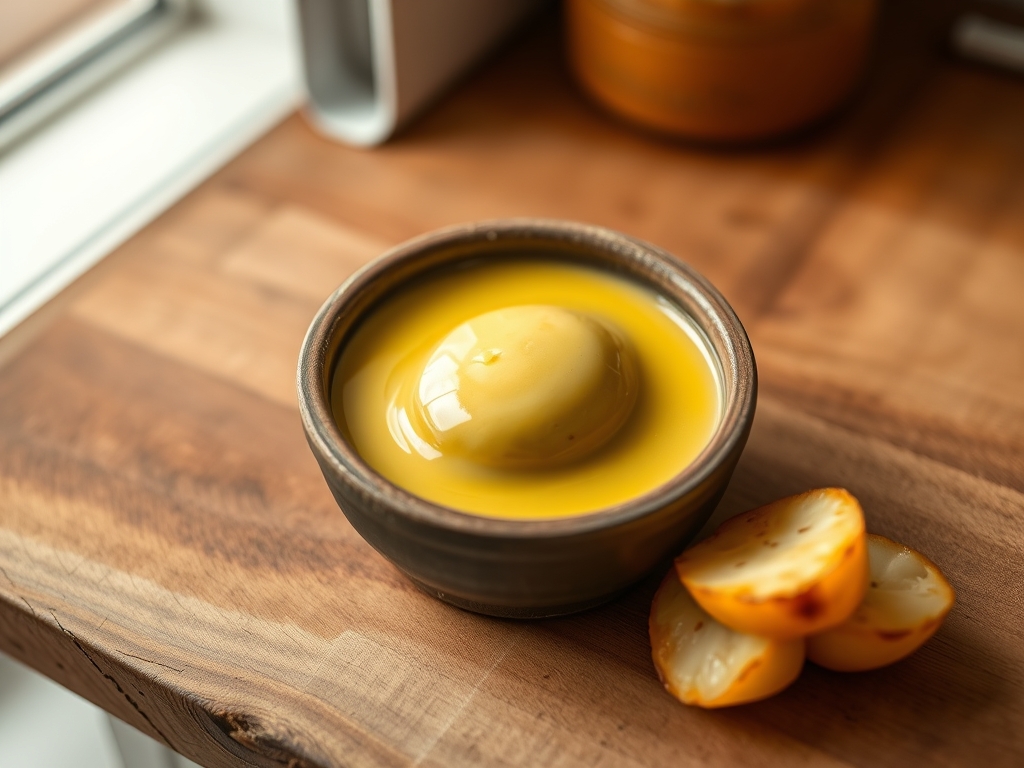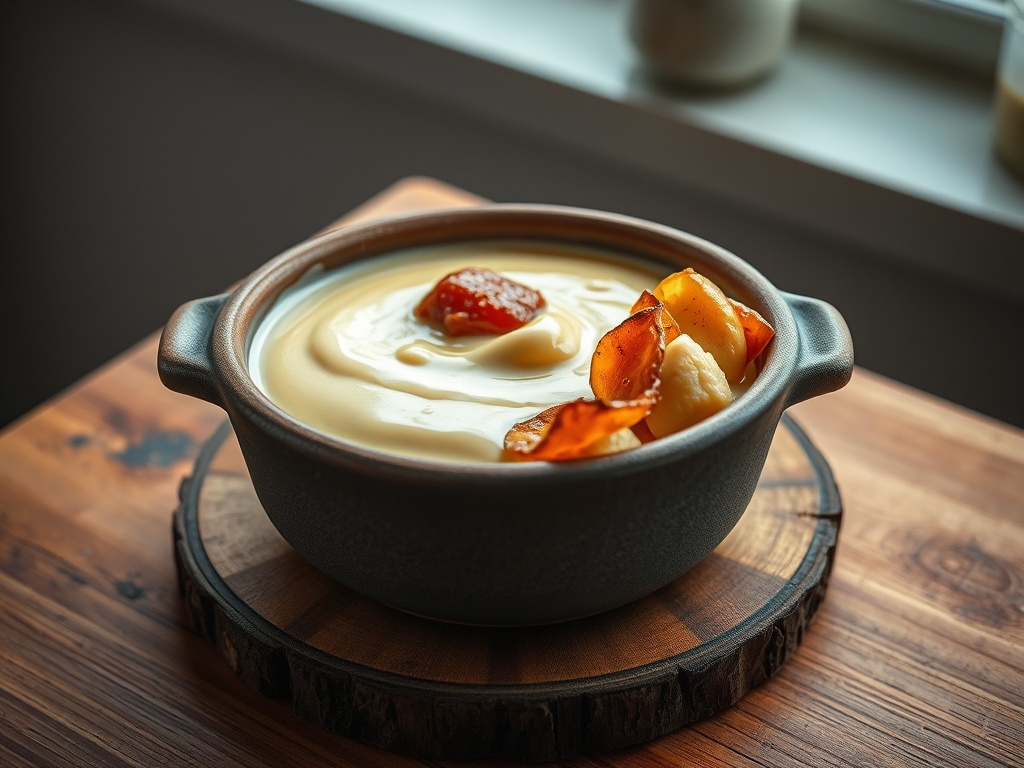
Forget everything you think you know about mayonnaise. If you are looking for a bland, shelf-stable white glob to lubricate a sandwich, you have wandered into the wrong laboratory. We are here to discuss the high-stakes, high-reward architecture of a true Aioli Garlic Emulsion. This is not a condiment; it is a structural marvel of lipid suspension and sulfurous intensity. When executed correctly, it is a thick, pale gold cream that clings to the palate with a sharp, piquant bite and a velvety finish. The aroma should be aggressive, demanding your attention before the first molecule even hits your tongue. We are talking about the visceral marriage of raw garlic and liquid gold. This process requires more than just a whisk; it requires an understanding of molecular tension and the patience of a diamond cutter. One wrong move, one frantic pour of oil, and your masterpiece collapses into a greasy, broken puddle of regret. Prepare your workstation. We are about to build an emulsion that defies gravity and redefines flavor.
THE DATA MATRIX
| Metric | Specification |
|---|---|
| Prep Time | 12 Minutes |
| Execution Time | 8 Minutes |
| Yield | 300ml / 1.25 Cups |
| Complexity (1-10) | 7 |
| Estimated Cost per Serving | $0.45 |
THE GATHERS
Ingredient Protocol:
- 4 Large Cloves Fresh Garlic (20g)
- 2 Large Egg Yolks (36g)
- 250ml / 1 cup Extra Virgin Olive Oil (High Phenolic)
- 15ml / 1 tbsp Fresh Lemon Juice
- 5g / 1 tsp Fine Sea Salt
- 2ml / 0.5 tsp Cold Water (The "Stabilizer")
Section A: Ingredient Quality Audit:
The primary failure point in an Aioli Garlic Emulsion is the age of the garlic. If your cloves have a green germ growing in the center, discard them immediately. That sprout contains bitter compounds that will ruin the viscous profile of your sauce. To fix this, slice cloves in half and remove the germ with a paring knife. Secondly, if your olive oil is too "peppery," it can overwhelm the garlic. Technical fix: Blend 50% extra virgin olive oil with 50% neutral grapeseed oil to balance the flavor profile without sacrificing the luxurious mouthfeel. Finally, ensure your eggs are at room temperature. Cold yolks resist emulsification, leading to a thin, watery mess. If you forgot to take them out, soak the whole eggs in warm water for five minutes to reach the optimal thermal baseline.
THE MASTERCLASS
Step 1: The Allicin Activation
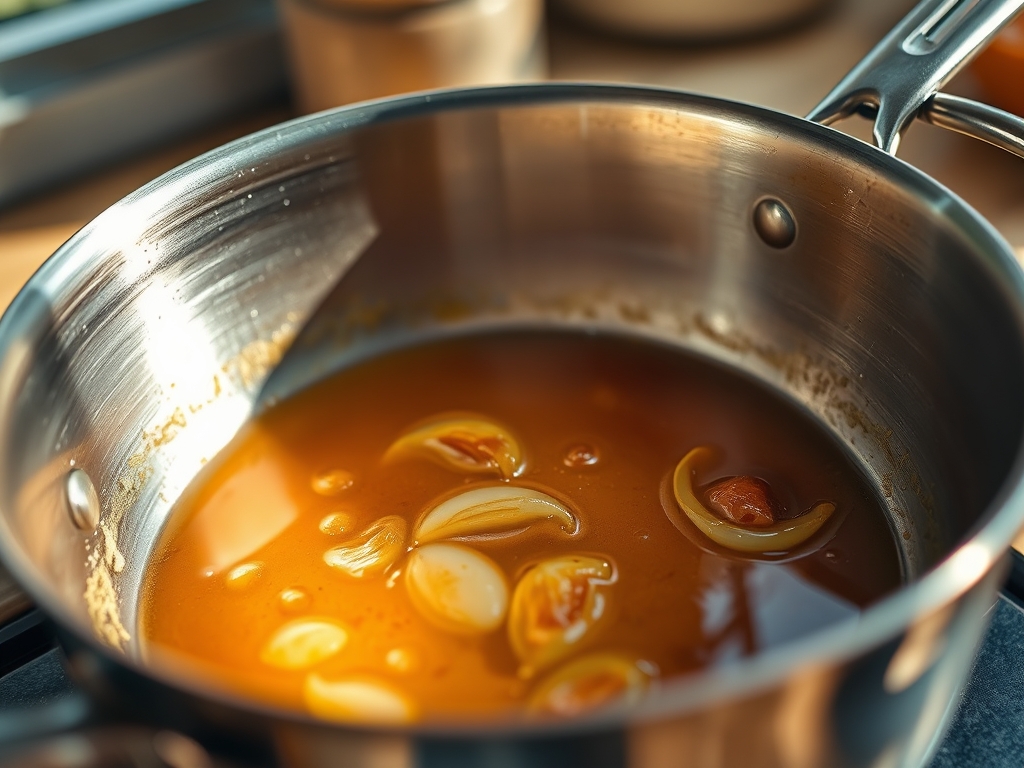
Place your garlic cloves and sea salt into a heavy mortar and pestle. Pulverize the garlic until it transforms into a smooth, translucent paste. There should be no visible chunks. This process breaks the cell walls of the garlic, releasing allicin, the enzyme responsible for that signature piquant punch.
Pro Tip: Use a bench scraper to gather any stray garlic bits back into the center of the mortar. The salt acts as an abrasive, accelerating the breakdown of the fibrous tissue into a uniform paste.
Step 2: The Lipid Foundation
Transfer the garlic paste to a stainless steel saucier or a heavy glass bowl. Add your egg yolks and lemon juice. Use a balloon whisk to vigorously aerate the mixture for sixty seconds until it turns pale yellow and slightly frothy.
Pro Tip: Place your bowl on a damp kitchen towel or a silicone mat. This stabilizes the vessel, allowing you to whisk with one hand while pouring oil with the other, ensuring a consistent shear rate.
Step 3: The Slow-Drip Induction
This is the critical phase. Begin adding your oil one drop at a time. Whisk constantly. You are looking for the oil to vanish completely into the yolk matrix before adding more. Once the mixture begins to thicken and look like a heavy cream, you can increase the flow to a very thin, needle-like stream.
Pro Tip: Use a digital scale to measure your oil flow. If the mixture looks shiny or "slick," stop pouring and whisk vigorously to re-incorporate the surface oil. This prevents the emulsion from "breaking."
Step 4: The Structural Finish
As the aioli thickens, it will become difficult to whisk. This is the sign of a successful viscous suspension. Add the half-teaspoon of cold water at the very end. This "shocks" the proteins and helps set the final structure, giving the aioli a glossy, professional sheen.
Pro Tip: Taste the emulsion now. The flavor will develop over the next hour, but the salt levels must be calibrated immediately. A true auditor knows that acidity (lemon) and salinity (salt) must be perfectly balanced to cut through the heavy lipids.
Section B: Prep & Timing Fault-Lines:
The most common human error is "The Rush." If you pour the oil too fast in the first two minutes, the lecithin in the egg yolks cannot surround the oil droplets, and the sauce will separate. If this happens, do not throw it away. Take a clean bowl, add one fresh egg yolk and a teaspoon of lemon juice, and slowly whisk the "broken" mixture into the new yolk. This resets the molecular lattice. Temperature control is also vital; if the kitchen is too hot, the fats will liquefy too rapidly. Work in a cool area of the kitchen to maintain the integrity of the emulsion.
THE VISUAL SPECTRUM
Section C: Thermal & Visual Troubleshooting:
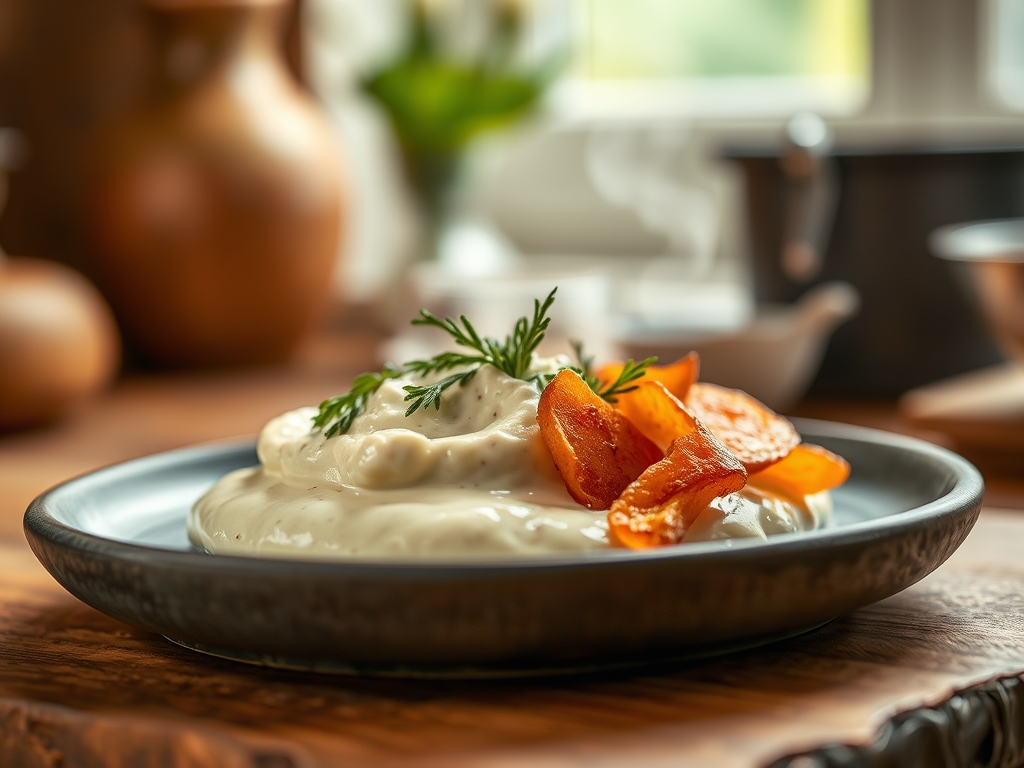
Referencing the Masterclass photo, your Aioli Garlic Emulsion should exhibit a "soft peak" consistency. It should hold its shape when dolloped but possess a silky, reflective surface. If your aioli looks dull or matte, you likely over-whisked it or used too much garlic solids relative to the oil. If the color is too green, your olive oil was too young; if it is stark white, you used a refined neutral oil and lost the traditional aesthetic. A "broken" aioli will look curdled, like spoiled milk. To ensure the correct visual cue, the sauce should coat the back of a spoon heavily and only drip off slowly in thick ribbons. If it runs off like water, continue whisking while adding a tiny amount of additional oil to increase the fat-to-liquid ratio.
THE DEEP DIVE
Macro Nutrition Profile:
A single 15ml serving of this emulsion contains approximately 100 calories, 11g of fat, 0.5g of protein, and negligible carbohydrates. It is a high-density lipid fuel source, rich in monounsaturated fats from the olive oil and heart-healthy compounds from the raw garlic.
Dietary Swaps:
- Vegan: Replace the egg yolks with 30ml of aquafaba (chickpea canning liquid). The proteins in aquafaba mimic egg lecithin remarkably well.
- Keto/Paleo: This recipe is naturally keto-compliant. For Paleo, ensure your oil is cold-pressed and the salt is unrefined.
- Low-FODMAP: This is difficult as garlic is the core. You may substitute the raw garlic with garlic-infused olive oil, though the texture will be less viscous.
Meal Prep & Reheating Science:
Never reheat aioli. High heat will render the fats and cause the emulsion to collapse instantly into an oily soup. For meal prep, store in an airtight glass jar in the coldest part of the refrigerator for up to three days. Before serving, let it sit at room temperature for ten minutes and give it a gentle stir with a spoon to restore the glossy finish.
THE KITCHEN TABLE
Why did my aioli turn bitter?
You likely used a high-speed blender. Rapid blades can oxidize the polyphenols in extra virgin olive oil, creating a metallic, bitter tang. Always whisk by hand or use a mortar and pestle for the best flavor.
Can I use bottled garlic paste?
Absolutely not. Bottled paste contains citric acid and preservatives that interfere with the pH balance of the emulsion. The sulfur compounds in bottled garlic are also dull, lacking the piquant punch required for this infrastructure.
How do I make it thicker?
The thickness of an emulsion is determined by the ratio of oil to water. To increase thickness, slowly whisk in more oil. It sounds counterintuitive, but more fat droplets actually crowd the mixture, creating a firmer internal structure.
My aioli is too salty, help!
Do not add water, as it will thin the sauce. Instead, whisk in a small amount of sour cream or Greek yogurt. This adds bulk and acidity to mask the salt without destroying the viscous nature of the emulsion.