Listen closely because your breakfast is currently a structural failure. Most home cooks are producing dense, rubbery discs that have more in common with a hockey puck than a culinary masterpiece. We are here to rectify that through the rigorous application of chemical leavening kinetics. The secret to a transcendent morning lies in the creation of a perfectly Aerated Pancake Batter. We are talking about a matrix of carbon dioxide bubbles trapped within a delicate gluten lattice, suspended in a state of precarious, delicious tension. When that cold batter hits a preheated, butter-slicked surface, the thermal shock should trigger an immediate expansion. You want to see those bubbles fighting for their lives, pushing upward to create height and lightness. This is not just cooking; it is an engineering feat involving the neutralization of acids and the rapid expansion of gases. If your current pancakes do not possess the structural integrity of a cloud and the golden, lace-like exterior of a dream, you are failing the audit. Let us rebuild your technique from the molecular level up.
THE DATA MATRIX
| Metric | Specification |
|---|---|
| Prep Time | 12 Minutes |
| Execution Time | 15 Minutes |
| Yield | 8-10 Large Cakes |
| Complexity | 4 / 10 |
| Estimated Cost per Serving | $0.85 USD |
THE GATHERS
Ingredient Protocol:
- 250g / 2 cups All-Purpose Flour (unbleached)
- 30g / 2 tbsp Granulated Sugar
- 10g / 2 tsp Baking Powder (double-acting)
- 3g / 0.5 tsp Baking Soda
- 5g / 1 tsp Fine Sea Salt
- 350ml / 1.5 cups Full-Fat Buttermilk (room temperature)
- 60g / 4 tbsp Unsalted Butter (melted and cooled)
- 1 Large Egg (room temperature)
- 5ml / 1 tsp Pure Vanilla Extract
Section A: Ingredient Quality Audit:
If your buttermilk is thin and watery, your viscous profile will collapse. High-quality buttermilk should have a thick, clingy consistency to support the gas bubbles. If you are using "fake" buttermilk (milk plus lemon juice), increase your baking powder by 25 percent to compensate for the lower acidity. Ensure your leavening agents are not expired. To test, drop a pinch of baking powder into hot water; if it does not fizz violently, discard it immediately. Your butter must be melted but not hot. Adding hot fat to cold eggs will result in premature coagulation, ruining the emulsion before it even reaches the griddle.
THE MASTERCLASS
Step 1: Dry Phase Homogenization
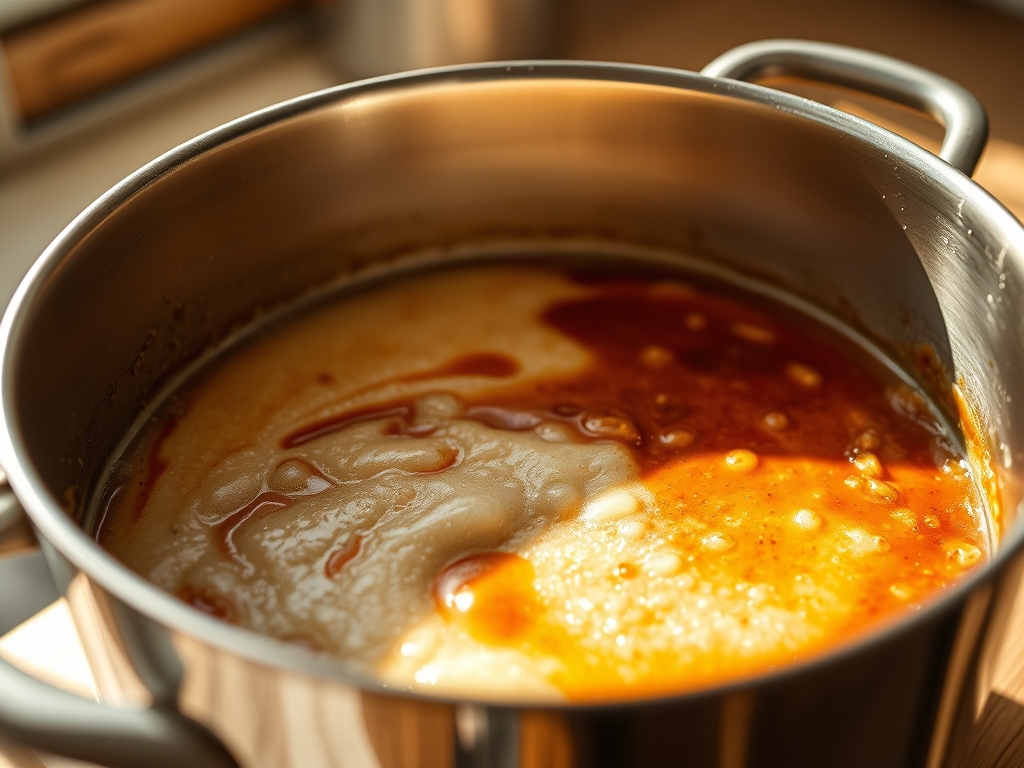
Sift your flour, sugar, leavening agents, and salt into a large stainless steel mixing bowl. Use a fine-mesh sieve to ensure there are no clumps of baking soda, which can create bitter, soapy pockets in the finished product.
Pro Tip: Use a digital scale for the dry ingredients. Volume measurements are notoriously inaccurate due to flour compression. A precise mass ensures the protein-to-moisture ratio remains optimal for bubble retention.
Step 2: Wet Phase Emulsification
In a separate saucier or glass bowl, whisk together the buttermilk, egg, and vanilla. Slowly drizzle in the melted butter while whisking constantly. You are looking for a stable emulsion where the fat is evenly dispersed throughout the liquid phase.
Pro Tip: Ensure all wet ingredients are at room temperature. Cold buttermilk will cause the melted butter to solidify into small waxy beads, preventing a smooth infuse of fats and leading to an uneven crumb.
Step 3: The Integration Event
Make a well in the center of the dry ingredients and pour in the wet mixture. Use a large silicone spatula to fold the ingredients together. Stop the moment the last streaks of flour disappear. The batter should be lumpy and thick.
Pro Tip: Over-mixing is the primary cause of pancake failure. Excessive agitation develops gluten, turning your Aerated Pancake Batter into a tough, bread-like substance. Use a bench scraper to clean the sides of the bowl efficiently without over-working the center.
Step 4: The Kinetic Rest
Allow the batter to sit undisturbed for ten minutes. During this time, the flour hydrates and the starches swell. More importantly, the acid in the buttermilk begins reacting with the baking soda, pre-loading the batter with carbon dioxide.
Pro Tip: Watch for small bubbles forming on the surface. This is the visual cue that your chemical leavening is active. Do not stir the batter again after this rest; you want to preserve every microliter of gas.
Step 5: Thermal Execution
Heat a heavy-bottomed cast iron skillet or griddle over medium heat. Apply a thin layer of clarified butter. Use a leveled measuring cup to deposit the batter. Flip only when the bubbles on the surface pop and stay open, and the edges look matte rather than shiny.
Pro Tip: Use an infrared thermometer to verify a surface temperature of 375 degrees Fahrenheit. This ensures the Maillard reaction occurs rapidly enough to brown the exterior before the interior overcooks and dries out.
Section B: Prep & Timing Fault-Lines:
The most common timing error is "The Pre-Mix Trap." If you mix the batter and then wait thirty minutes to cook, the chemical reaction will exhaust itself, and the bubbles will escape. Your pancakes will be flat. Conversely, if you skip the ten-minute rest, the gluten will not have relaxed, resulting in a springy, tough texture. Temperature control is also vital. If the pan is too cold, the batter spreads too much; if it is too hot, the exterior burns before the center sets.
THE VISUAL SPECTRUM
Section C: Thermal & Visual Troubleshooting:
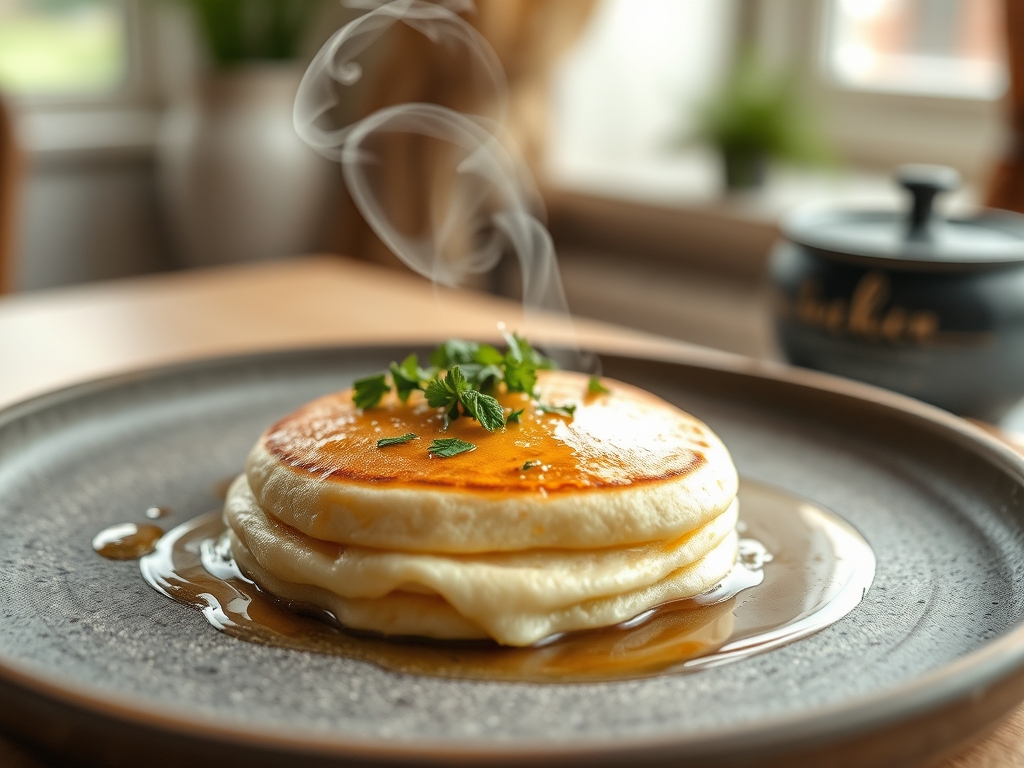
Observe the photo above. Notice the "crown" or the height of the pancake; this is the direct result of a high-viscosity batter and active leavening. If your cakes are flat, your batter was likely too thin or over-mixed. Look at the golden-brown ring around the edge. If your browning is splotchy or pale, your pan temperature was inconsistent. If the center is doughy despite a dark exterior, lower the heat and increase the cook time. The "pockmarks" on the surface are the exit points of the CO2 bubbles; these are the hallmark of a successful technical audit.
THE DEEP DIVE
Macro Nutrition Profile:
A standard serving of two cakes provides approximately 350 calories, 12g of fat, 45g of carbohydrates, and 8g of protein. While not a low-calorie food, the satiety provided by the fat and protein content makes it a functional fuel source for high-activity days.
Dietary Swaps:
For a Vegan conversion, utilize soy milk with apple cider vinegar and a flax egg. The leavening kinetics remain similar, though the protein structure will be slightly weaker. For Gluten-Free requirements, a 1:1 rice-flour-based blend works well, provided you add 1/4 teaspoon of xanthan gum to assist with bubble wall integrity. Keto versions require almond flour and heavy cream, though they will never achieve the same "loft" as traditional wheat-based cakes.
Meal Prep & Reheating Science:
To maintain the molecular structure when reheating, avoid the microwave. The microwave agitates water molecules, which can turn the starch "retrograded" and chewy. Instead, use a toaster oven at 350 degrees Fahrenheit. This re-crisps the exterior fats and gently warms the interior air pockets without collapsing them.
THE KITCHEN TABLE
Why are my pancakes rubbery?
You over-mixed the batter. Excessive stirring develops gluten, which creates a tough, elastic network. Mix until the flour just disappears and leave the lumps alone. Your goal is a tender crumb, not a bread dough.
Can I make the batter the night before?
Negative. The chemical leavening agents begin reacting the moment they hit moisture. If left overnight, the gas will escape and the baking powder will lose its potency, resulting in a dense, flat, and disappointing product.
Why is the first pancake always bad?
The "sacrificial pancake" occurs because the pan surface hasn't reached thermal equilibrium and the fat distribution is uneven. Ensure you preheat for at least five minutes and wipe away excess oil before starting.
What is the best fat for frying?
Clarified butter or ghee is the gold standard. It provides the flavor of butter but has a higher smoke point, allowing for the high-heat Maillard reaction without the bitter taste of burnt milk solids.
How do I get perfectly round pancakes?
Consistency is key. Use a standard 1/4 cup measure and pour the batter into the center of the heat zone in one steady motion. Let gravity do the work of spreading the batter into a circle.