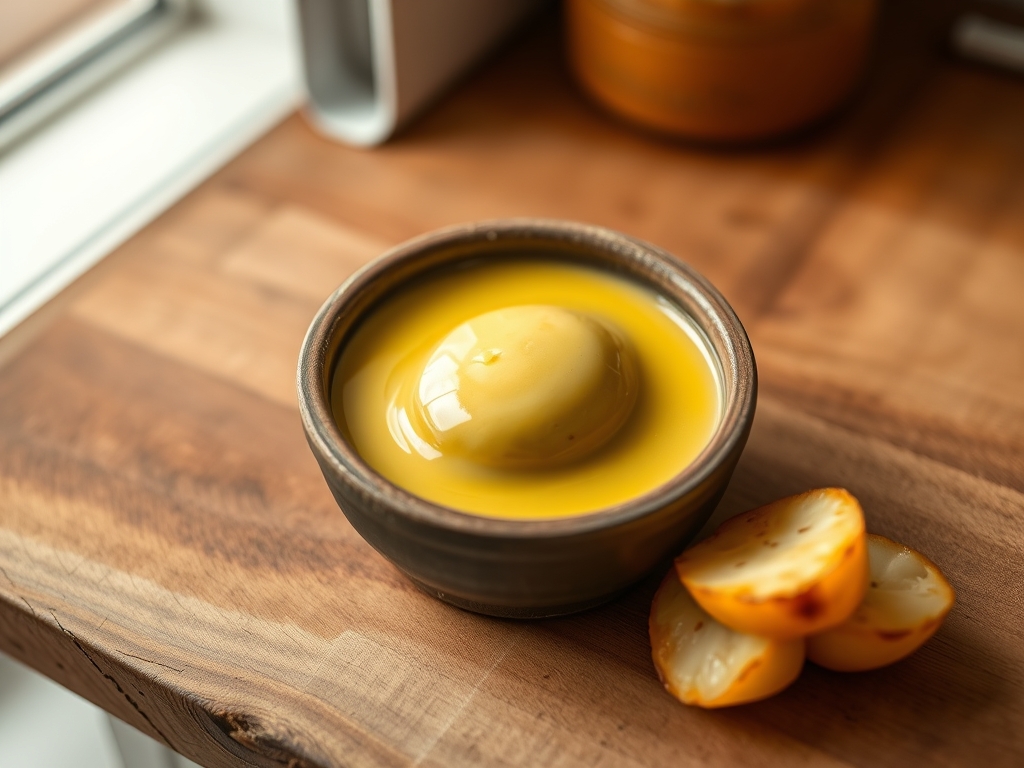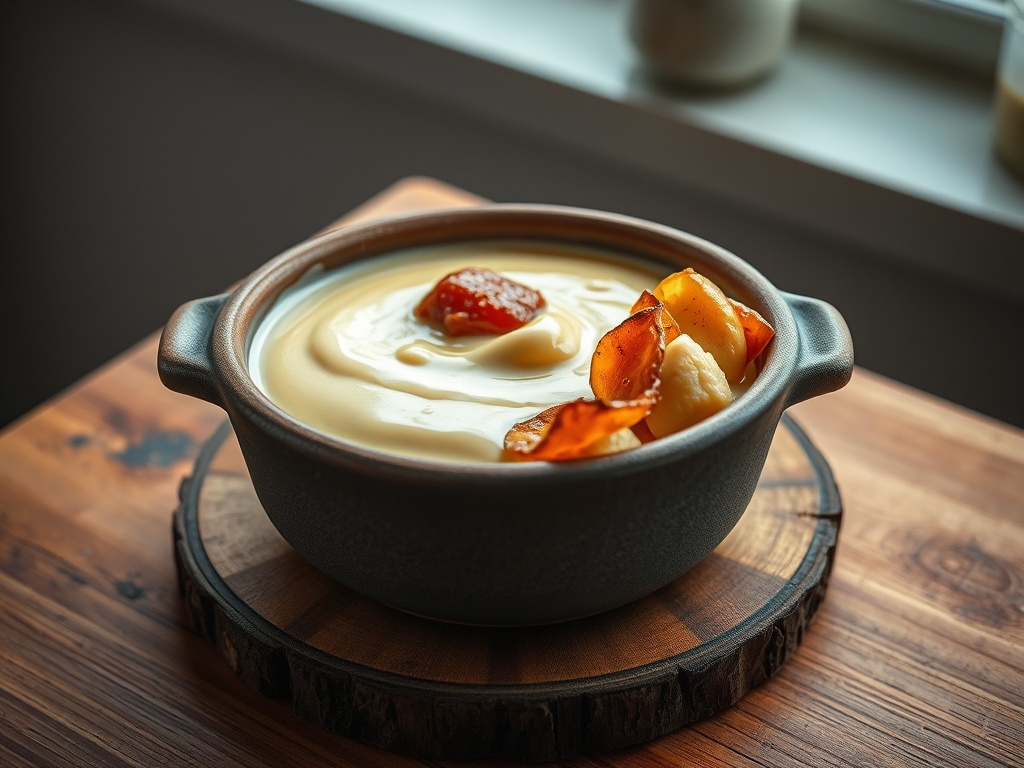
Forget the dainty image of a tea room dessert; we are entering the high-stakes arena of structural engineering where the medium is lipid-heavy dairy and the catalyst is avian protein. To achieve the perfect Crème Brûlée Setting, one must navigate the razor-thin margin between a luxurious, viscous silk and a rubbery, over-coagulated failure. This is a technical audit of a thermodynamic miracle. We are looking for a surface that shatters like a sheet of cathedral glass, protecting a core that is barely holding its own weight against the pull of gravity. If your custard resembles scrambled eggs or a runny soup, your protocol is flawed. We demand a specific density where the spoon meets resistance but the palate meets a cloud. This process requires absolute precision in temperature control and an intimate understanding of how egg yolks denature under thermal stress. Put down the whisk and pick up your digital thermometer. We are about to render raw ingredients into a masterpiece of molecular stability.
THE DATA MATRIX
| Metric | Specification |
|---|---|
| Prep Time | 20 Minutes |
| Execution Time | 45 Minutes (Plus 4 Hours Chill) |
| Yield | 6 Ramekins (120ml each) |
| Complexity (1-10) | 7 |
| Estimated Cost per Serving | $1.85 |
THE GATHERS
Ingredient Protocol:
- 500ml / 2 cups Heavy Cream (minimum 36% butterfat)
- 100g / 0.5 cups Superfine Granulated Sugar (plus extra for the crust)
- 6 Large Egg Yolks (approximately 110g)
- 1 Whole Vanilla Bean (or 10ml / 2 tsp Vanilla Paste)
- 1g / 0.25 tsp Flaky Sea Salt
Section A: Ingredient Quality Audit:
If your cream has a low fat content, the emulsion will lack the necessary structural integrity to achieve a firm Crème Brûlée Setting. Ensure you are using heavy cream rather than "half and half" to avoid a watery result. If your eggs are not fresh, the lecithin levels may be compromised; this leads to poor emulsification. Fix this by adding a single extra yolk to increase the phospholipid count. If your sugar is too coarse, it will not dissolve during the tempering phase, leading to a grainy mouthfeel. Use a digital scale to ensure the sugar-to-yolk ratio is exact, as excess sugar inhibits protein bonding, while too little results in a fragile gel.
THE MASTERCLASS
Step 1: Lipid Infusion and Thermal Priming
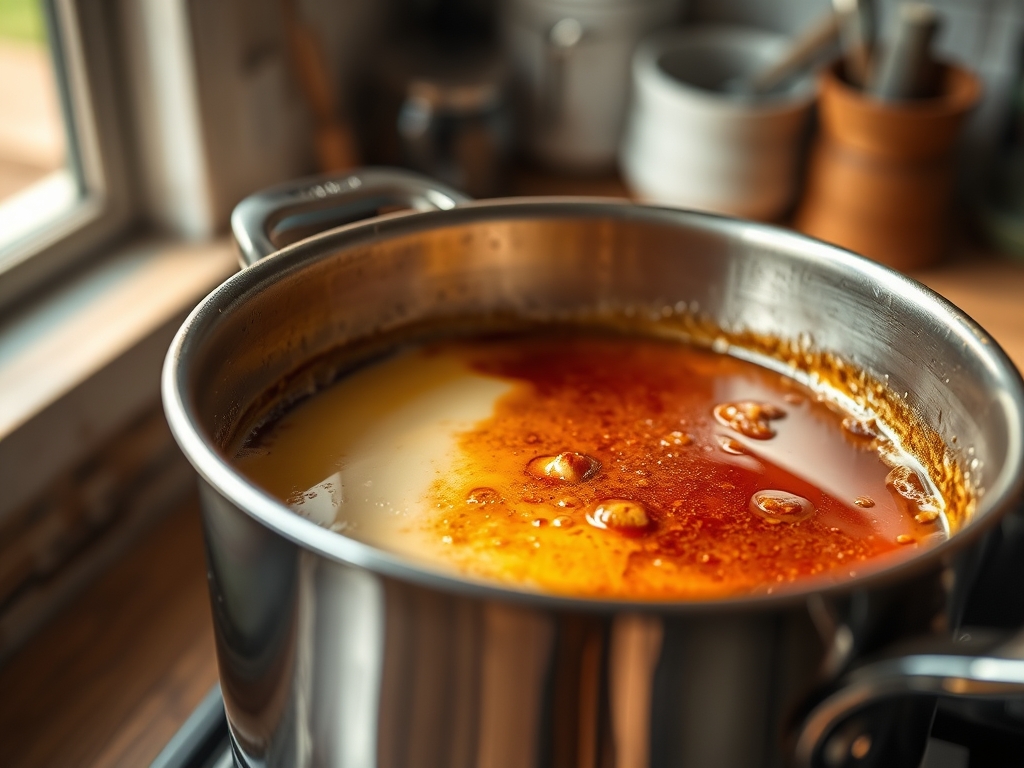
Combine the heavy cream and the scraped seeds of the vanilla bean in a heavy-bottomed saucier. Heat the mixture over medium-low until it reaches 80 degrees Celsius (175 degrees Fahrenheit). Do not allow it to boil, as this can cause the proteins to render prematurely or create unwanted bubbles.
Pro Tip: Using a saucier with rounded edges prevents the cream from scorching in the corners. This step is vital to infuse the fat globules with the aromatic compounds of the vanilla, which are fat-soluble and require heat to fully release their profile.
Step 2: The Egg-Sugar Matrix
While the cream is heating, whisk the egg yolks and sugar in a stainless steel bowl until the mixture is pale and slightly thickened. You are looking to aerate the yolks just enough to incorporate the sugar without creating a foam that will ruin the surface tension of the final custard.
Pro Tip: Use a digital scale for the yolks. Variations in egg size can drastically alter the Crème Brûlée Setting. A precise weight ensures that the protein-to-fat ratio remains constant every single time you bake.
Step 3: Precision Tempering
Slowly drizzle a small amount of the hot cream into the yolk mixture while whisking constantly. This gradually raises the temperature of the yolks without shocking them into a scramble. Once half the cream is incorporated, pour the yolk mixture back into the saucier with the remaining cream.
Pro Tip: This is the most dangerous phase of the audit. If you add the cream too fast, you will denature the proteins instantly. The goal is to keep the mixture viscous and smooth, ensuring the proteins are primed for the final bake.
Step 4: The Controlled Bain-Marie
Strain the mixture through a fine-mesh sieve into your ramekins to remove any stray chalazae or vanilla pod fragments. Place the ramekins in a deep baking pan and fill the pan with boiling water until it reaches halfway up the sides of the dishes. Bake at 150 degrees Celsius (300 degrees Fahrenheit) for 35 to 40 minutes.
Pro Tip: The water bath acts as a thermal buffer, preventing the edges from overcooking before the center reaches the proper Crème Brûlée Setting. Use a bench scraper to help maneuver the ramekins safely if they shift in the tray.
Step 5: The Cryogenic Stabilization
Remove the ramekins when the centers still have a slight jiggle (the "wobble" of a panna cotta). Allow them to cool to room temperature before refrigerating for at least four hours. This cold rest allows the lipid structure to solidify and the protein lattice to fully lock into place.
Pro Tip: Cooling is not just about temperature; it is about molecular alignment. Skipping the chill time results in a custard that collapses the moment the spoon enters, failing the structural audit entirely.
Section B: Prep & Timing Fault-Lines:
The most common human error is the "over-bake." If the custard looks like a cake or has bubbles on the side, you have exceeded the thermal threshold. The internal temperature should never pass 82 degrees Celsius (180 degrees Fahrenheit). If you miss this window, the custard will weep liquid (syneresis). To fix a slightly under-baked custard, increase the chill time to 12 hours to allow maximum setting through cold-set kinetics.
THE VISUAL SPECTRUM
Section C: Thermal & Visual Troubleshooting:
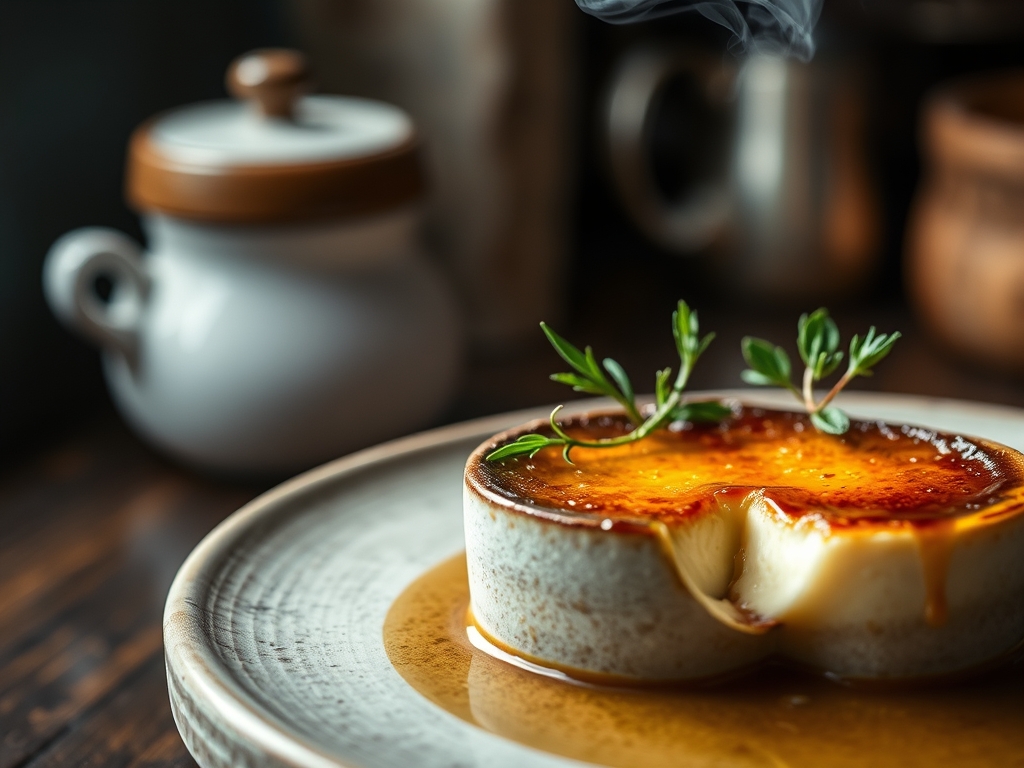
Look at the Masterclass photo above. Notice the uniform, pale ivory color of the custard base and the deep, amber-to-mahogany transition of the sugar crust. If your crust is pale yellow, you have not achieved the Maillard reaction or caramelization necessary for the piquant bitterness that balances the sugar. Use a high-output butane torch rather than a broiler to ensure the heat is localized. If the custard surface is pitted with tiny holes, you incorporated too much air during Step 2. To fix this, run a kitchen torch lightly over the surface of the raw custard before baking to pop any surface bubbles.
THE DEEP DIVE
Macro Nutrition Profile:
A standard 120ml serving contains approximately 450 calories. The profile is dominated by lipids (38g), followed by carbohydrates (22g) and a modest protein count (6g). It is a high-density energy source designed for sensory impact rather than volume consumption.
Dietary Swaps (Vegan/Keto/GF):
- Keto: Substitute the sugar with an erythritol-monk fruit blend. The structural setting remains largely the same, though the crust will caramelize faster.
- Vegan: Use full-fat coconut cream and agar-agar. Note that agar-agar creates a more brittle gel than egg yolks, so the "wobble" will be less pronounced.
- GF: Naturally gluten-free. Ensure your vanilla extract does not use a grain-based alcohol if sensitivity is extreme.
Meal Prep & Reheating Science:
Crème Brûlée is the ultimate make-ahead dessert. The custard can reside in the refrigerator for up to three days without losing its molecular integrity. However, do not torch the sugar until immediately before serving. Sugar is hygroscopic; it will pull moisture from the custard and the air, turning your glass-like crust into a sticky, syrupy mess within thirty minutes.
THE KITCHEN TABLE
Why is my custard still liquid after four hours?
Your internal temperature likely failed to reach 77 degrees Celsius during the bake. Without hitting this threshold, the egg proteins cannot form a cohesive network. Return them to a water bath or increase the chill time to overnight.
Can I use a broiler instead of a torch?
While possible, a broiler heats the entire ramekin, which can melt the top layer of your perfectly set custard. A torch provides the surgical precision needed to caramelize sugar while keeping the interior cold and stable.
Why did my cream curdle when heating?
This usually occurs if you add acidic flavors (like lemon juice) too early or if the cream is near its expiration date. Always heat the dairy slowly and ensure it is fresh to maintain a stable emulsion.
How do I get that perfect "crack"?
Apply a thin, even layer of superfine sugar. Torch it until it liquefies and turns dark amber. Let it sit for two minutes; this allows the sugar to undergo a phase change back into a solid.