Imagine a structural collapse occurring at 325 degrees Fahrenheit. Most amateur bakers view a New York Cheesecake as a mere dessert; the elite culinary architect understands it is a high-stakes engineering project involving the structuralization of dairy proteins. We are not just mixing batter. We are creating a viscous emulsion that must transition from a liquid state to a semi-solid matrix without a single fracture. The goal is a texture so dense it defies gravity yet so smooth it dissolves upon contact with the palate. A true New York Cheesecake demands a specific piquant profile, achieved through the deliberate acidification of heavy cream and the precise application of thermal energy. If your cheesecake resembles a spongy souffle or a weeping mess of curdled fats, your infrastructure has failed. We are here to audit your process, reinforce your technique, and ensure that every slice delivers the legendary, velvet-heavy resistance that defines the Manhattan gold standard. Strap in; we are moving from raw dairy to architectural perfection.
THE DATA MATRIX
| Metric | Specification |
|---|---|
| Prep Time | 45 Minutes |
| Execution Time | 90 Minutes (Plus 12-hour cooling) |
| Yield | 12 to 16 Servings |
| Complexity (1-10) | 8 |
| Estimated Cost per Serving | $2.25 – $3.50 |
THE GATHERS
Ingredient Protocol:
The Foundation (Crust):
- 300g / 2 cups Graham cracker crumbs (finely processed)
- 115g / 0.5 cup Unsalted butter (melted)
- 50g / 0.25 cup Granulated sugar
- 2g / 0.5 tsp Kosher salt
The Superstructure (Filling):
- 1.13kg / 40 oz Full-fat cream cheese (room temperature)
- 300g / 1.5 cups Granulated sugar
- 240ml / 1 cup Sour cream (full-fat)
- 15ml / 1 tbsp Vanilla extract
- 4 Large eggs plus 2 egg yolks (room temperature)
- 30g / 0.25 cup All-purpose flour
- 5ml / 1 tsp Lemon juice (freshly squeezed)
Section A: Ingredient Quality Audit:
The primary failure point in cheesecake infrastructure is temperature variance. If your cream cheese is even slightly chilled, it will refuse to emulsify, resulting in "beading" or small lumps that survive the bake. Fix: If the cheese is cold, cube it and use a microwave on 10% power for 30-second intervals until it reaches exactly 70 degrees Fahrenheit. Another common issue is low-fat dairy. Reduced-fat sour cream lacks the lipid density to support the protein web; always source the highest fat percentage available to ensure a viscous mouthfeel. Finally, if your eggs are cold, they will seize the fats in the butter or cheese. Submerge cold eggs in warm water for five minutes to stabilize their temperature before integration.
THE MASTERCLASS
1. The Crust Consolidation
Combine your crumbs, sugar, and melted butter in a stainless steel bowl. Use a bench scraper to ensure the butter is evenly distributed. Press the mixture into a 9-inch springform pan, using the flat bottom of a measuring cup to create a high-density floor and walls. Bake at 350 degrees for 10 minutes to render the sugars and set the structure.
Pro Tip: This pre-bake initiates the Maillard reaction in the cracker crumbs, deepening the flavor profile and preventing the crust from becoming soggy once the wet batter is introduced.
2. The Primary Creaming Phase
In a stand mixer fitted with the paddle attachment, beat the cream cheese and sugar on low speed. You are looking to infuse the sugar into the fat without incorporating excess air. Scrape the sides of the bowl every 60 seconds with a silicone spatula.
Pro Tip: Avoid high-speed mixing. Excessive speed will aerate the batter, causing the cheesecake to rise like a balloon and then collapse, creating the dreaded "Grand Canyon" crack in the center.
3. The Protein Integration
Add the sour cream, vanilla, and lemon juice. Once smooth, add the eggs one at a time. Use a digital scale to ensure your eggs are of uniform size; inconsistent egg volume can alter the final protein-to-fat ratio, ruining the set.
Pro Tip: Eggs are the "rebar" of your dairy building. Adding them last ensures the protein chains are not overworked, which keeps the final texture creamy rather than rubbery.
4. The Hydraulic Thermal Shield
Wrap the exterior of your pan in three layers of heavy-duty aluminum foil. Place the pan inside a large roasting tray and fill the tray with boiling water until it reaches halfway up the sides of the springform pan.
Pro Tip: This water bath, or bain-marie, acts as a thermal regulator. It ensures the edges of the cake do not exceed 212 degrees Fahrenheit, preventing the proteins from over-coagulating and curdling.
5. The Controlled Descent
Bake at 325 degrees for 75 to 90 minutes. The edges should be set, but the center should still have a "jiggle" similar to firm gelatin. Turn off the oven, crack the door, and let it sit for one hour.
Pro Tip: Rapid cooling causes the protein structure to shrink faster than the pan, leading to surface tension cracks. A slow descent in temperature allows the molecular bonds to stabilize gradually.
Section B: Prep & Timing Fault-Lines:
The most frequent human error is the "rush to cut." A cheesecake is not finished when it leaves the oven; it is finished after 12 hours of refrigeration. Cutting into a warm cake disrupts the lipid stabilization, resulting in a grainy texture. If you notice the center is too liquid after the allotted time, do not panic. Check the internal temperature with a digital probe; it should read between 145 and 150 degrees Fahrenheit. If it is lower, extend the bake in 10-minute increments.
THE VISUAL SPECTRUM
Section C: Thermal & Visual Troubleshooting:
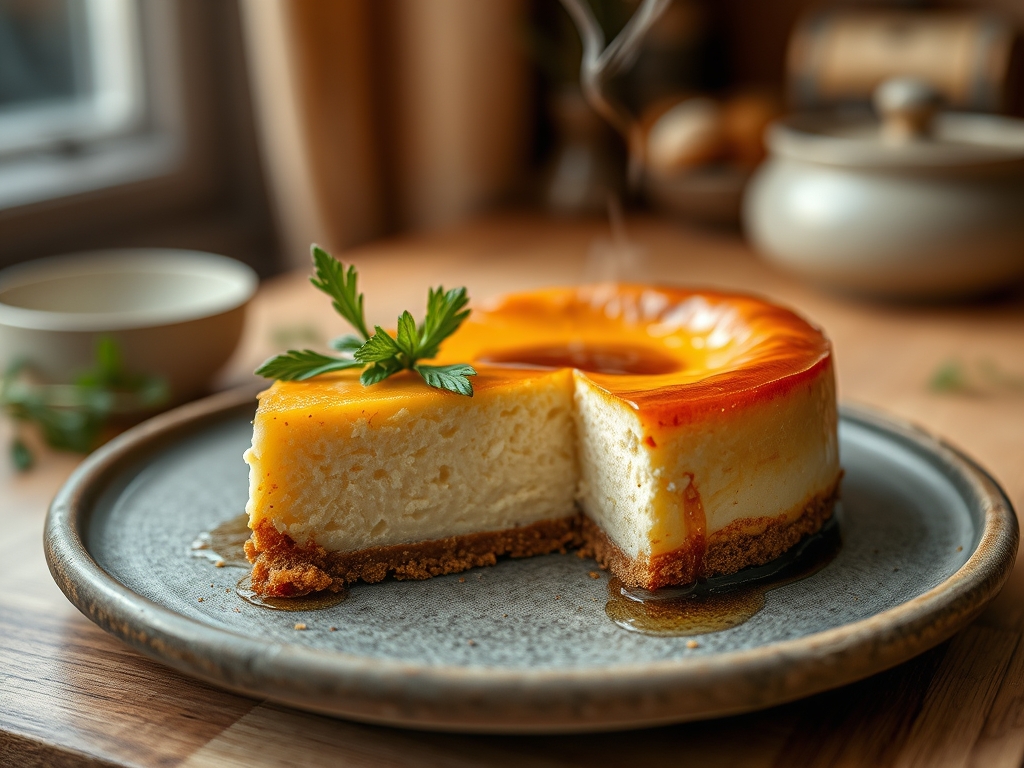
Referencing the Masterclass photo, note the ivory-pale surface with a matte finish. If your cake has a dark brown "skin," your oven's top heating element is too aggressive; tent the pan with foil halfway through. If the surface appears "sweaty" or has pools of liquid, your emulsion has broken, likely due to over-mixing the eggs. For a dull, greyish tint, check your lemon juice; bottled juice lacks the acidity to keep the dairy proteins bright. If cracks appear despite your best efforts, use a warm saucier to melt a small amount of sour cream and sugar to create a thin "spackle" layer over the top before the final chill.
THE DEEP DIVE
Macro Nutrition Profile:
A standard slice contains approximately 450-600 calories. The profile is heavy on lipids (35g) and proteins (8g), with a significant carbohydrate load (40g) from the sugar and crust. It is a high-density energy source designed for indulgence.
Dietary Swaps:
- Vegan: Substitute cream cheese with a cashew-based lactic acid fermented spread and use coconut cream in place of sour cream. Use an "egg" made of flax meal and starch.
- Keto: Replace graham crackers with almond flour and butter; swap granulated sugar for an erythritol-monk fruit blend.
- GF: Utilize certified gluten-free graham crackers or a crushed pecan and butter base.
Meal Prep & Reheating Science:
Cheesecake is the ultimate meal-prep dessert because its molecular structure improves with age. For long-term storage, wrap individual slices in parchment paper and then foil to prevent "freezer burn" (ice crystal sublimation). To serve, thaw in the refrigerator for six hours. Never use a microwave; the localized agitation of water molecules will cause the fats to separate and turn the cake into an oily puddle.
THE KITCHEN TABLE
Why did my cheesecake crack even with a water bath?
Cracks usually stem from over-beating the eggs, which introduces air. When that air escapes during cooling, the surface collapses. Also, ensure you run a thin knife around the edge after the one-hour oven rest to release the cake from the sides.
Can I use a different cheese like Ricotta?
You can, but you are moving from a New York style to an Italian style. Ricotta has a higher water content and a granular protein structure, resulting in a lighter, fluffier, and less viscous final product.
How do I get perfectly clean slices?
Heat a long carving knife under hot water, wipe it dry, and make one clean downward stroke. Wipe the blade clean and re-heat it between every single cut. This prevents "drag" from destroying the internal protein matrix.
What is the purpose of the flour in the batter?
The flour acts as a secondary stabilizer. It binds to the moisture in the eggs and cream cheese, providing extra insurance against cracking and helping the cake maintain its height once it is sliced and plated.